Set sail on your next favorite make with the Sailor’s Moon Cropped Sweater—a fun and flattering top-down raglan design that requires no seaming! Featuring classic granny stitches throughout the body, single crochet ribbing for structure, and stylish three-quarter sleeves, this sweater offers two neckline options: a chic boat neck or a playful split sailor collar. Available in sizes Small through 5X, it's the perfect lightweight layer for transitional weather and year-round style.
Updated 8/5/2025
About the pattern: This month we are making the Sailor's Moon Cropped Sweater. This fun cropped top utilizes granny stitches throughout the body and sc ribbing all around. You can make yours with either a boat neck or a split sailor neckline. Three-quarter sleeves complete the cropped look. The Sailors Moon Cropped Sweater comes in sizes Small through 5x. The Sailor’s Moon Cropped Sweater is made top-down, raglan style with no seaming required.

YARN
Lion Brand Heartland (100% acrylic, 5 oz / 142 g):
475 (500, 600, 650, 775, 900, 1000, 1150) yds (2 (2, 3, 3, 4, 4, 4, 5) skeins) for boat-neck version, shown in 122 Grand Canyon
or
850 (875, 1000, 1050, 1200, 1325, 1450, 1600) yds (4 (4, 4, 5, 5, 6, 6, 7) skeins) for sailor neck collar version, shown in 158 Yellowstone
OR any comparable worsted weight/#4 yarn with 8wpi. You can find a list of substitutes here.
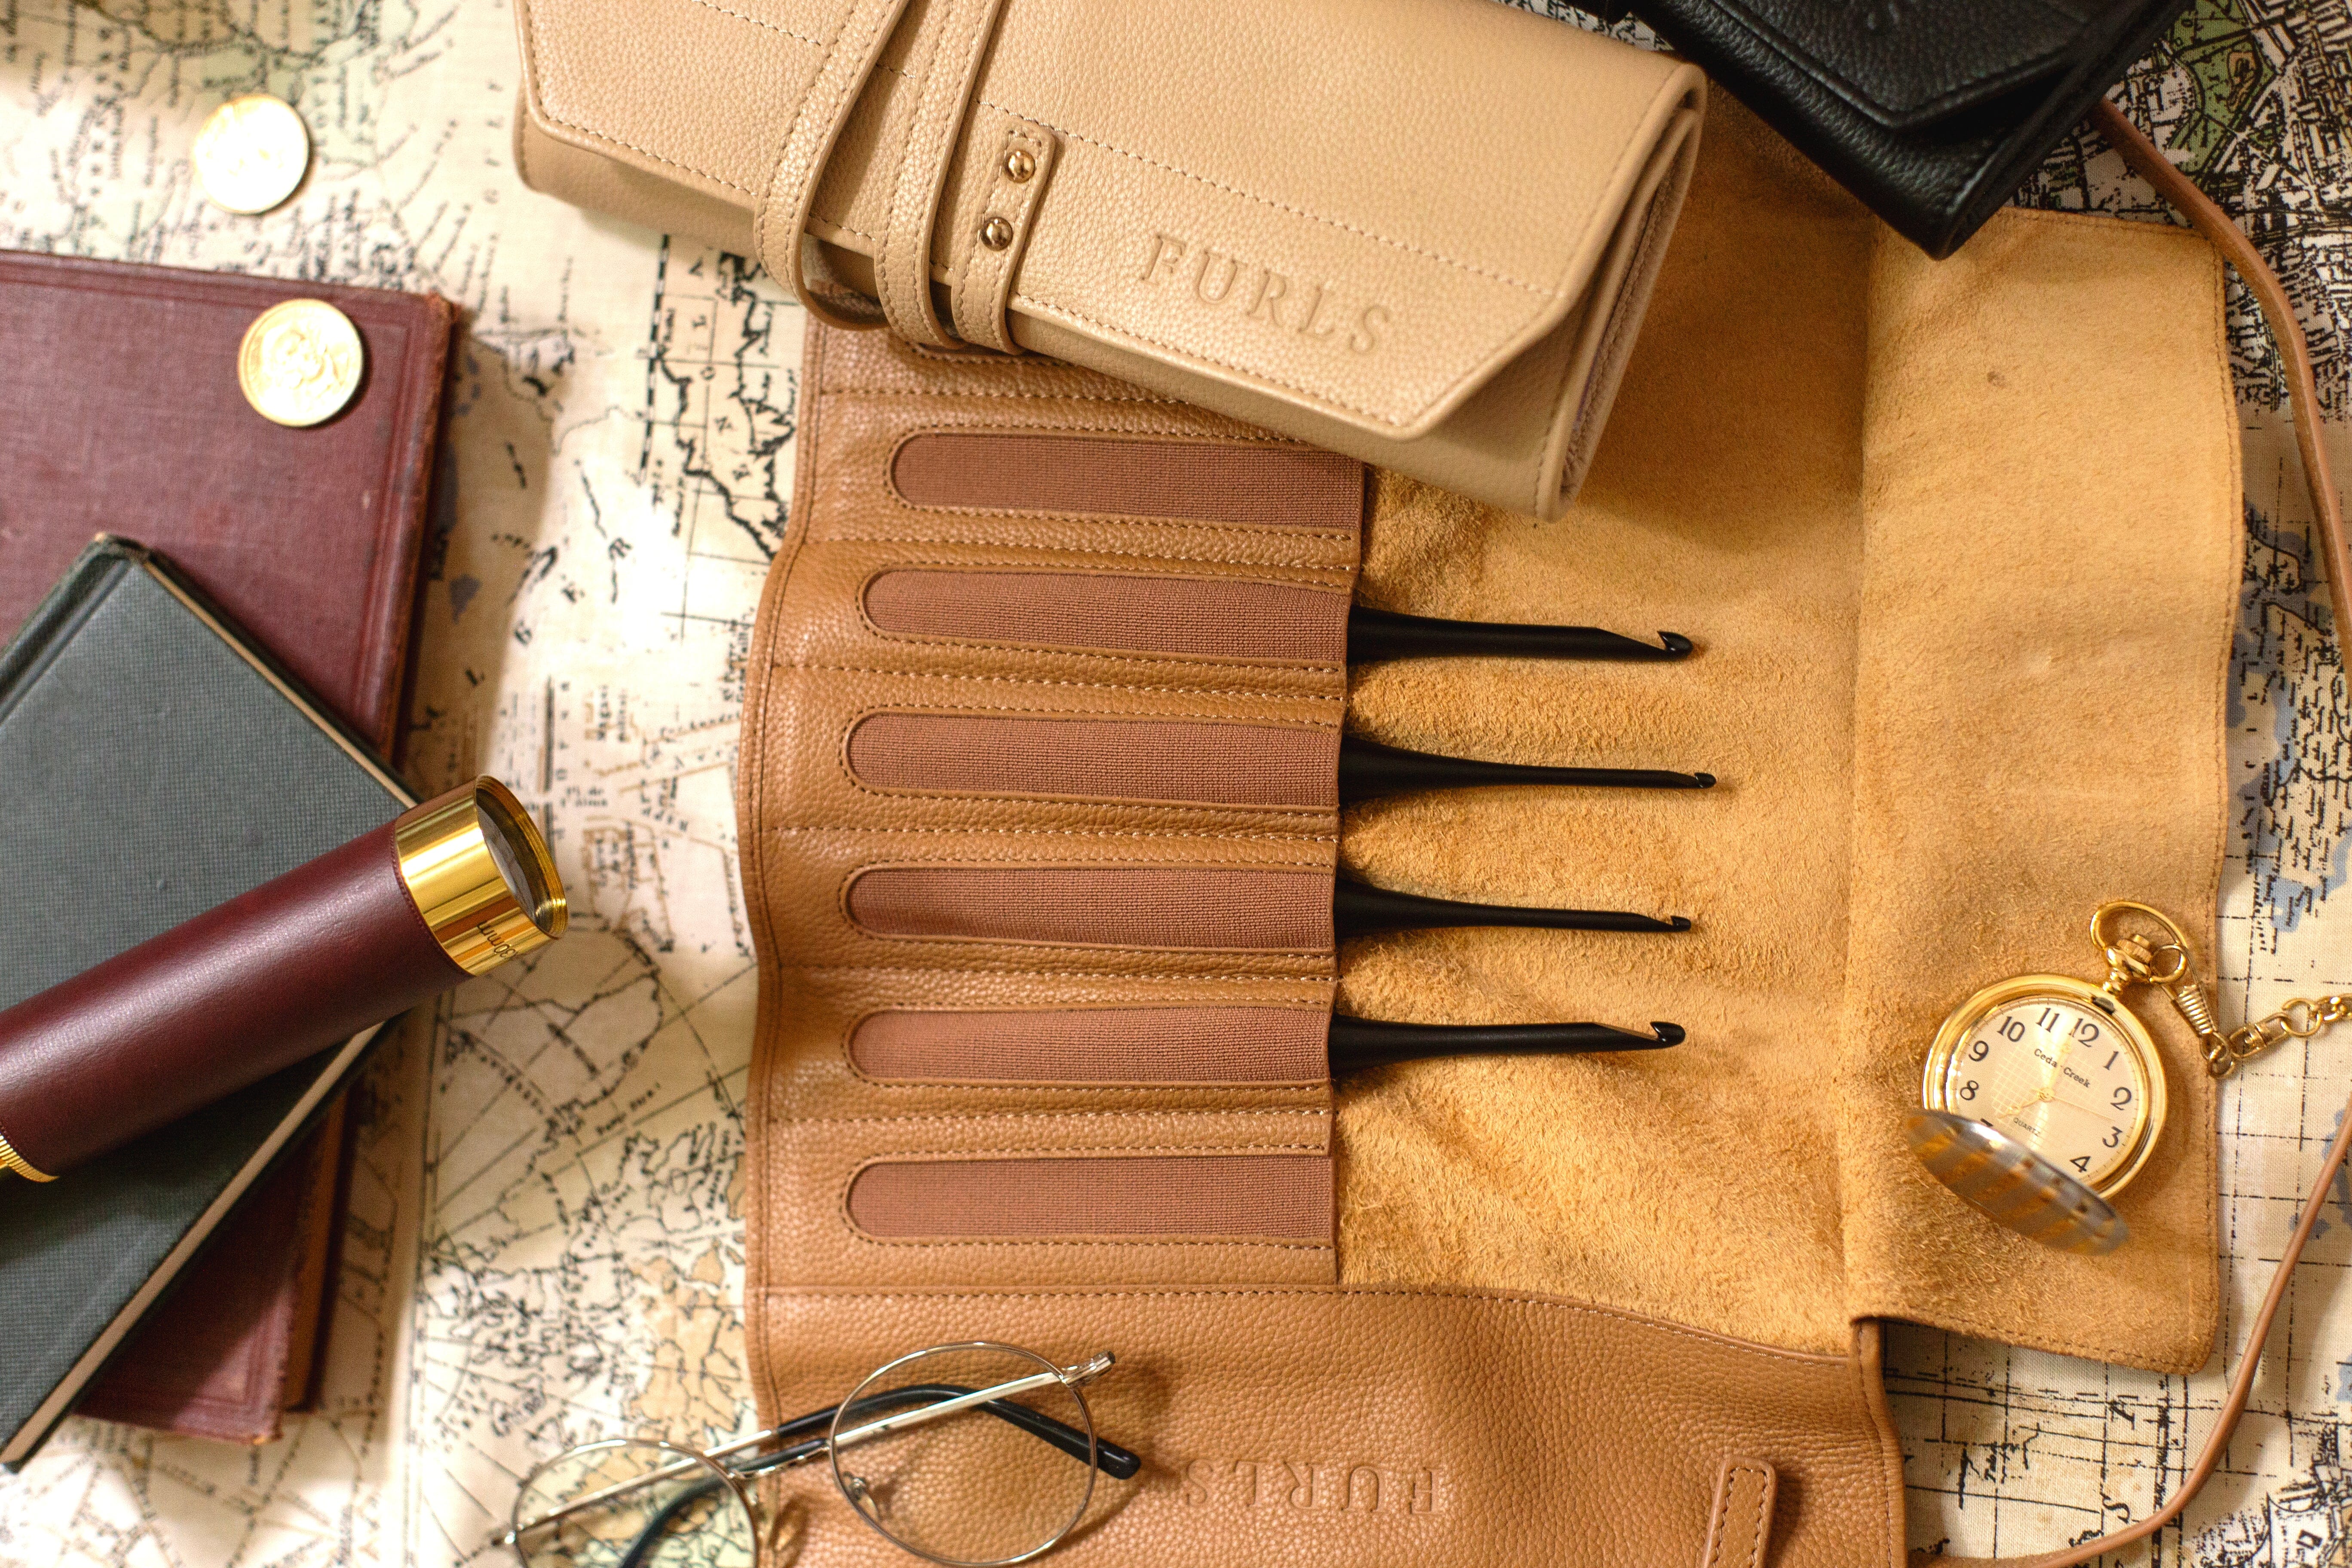
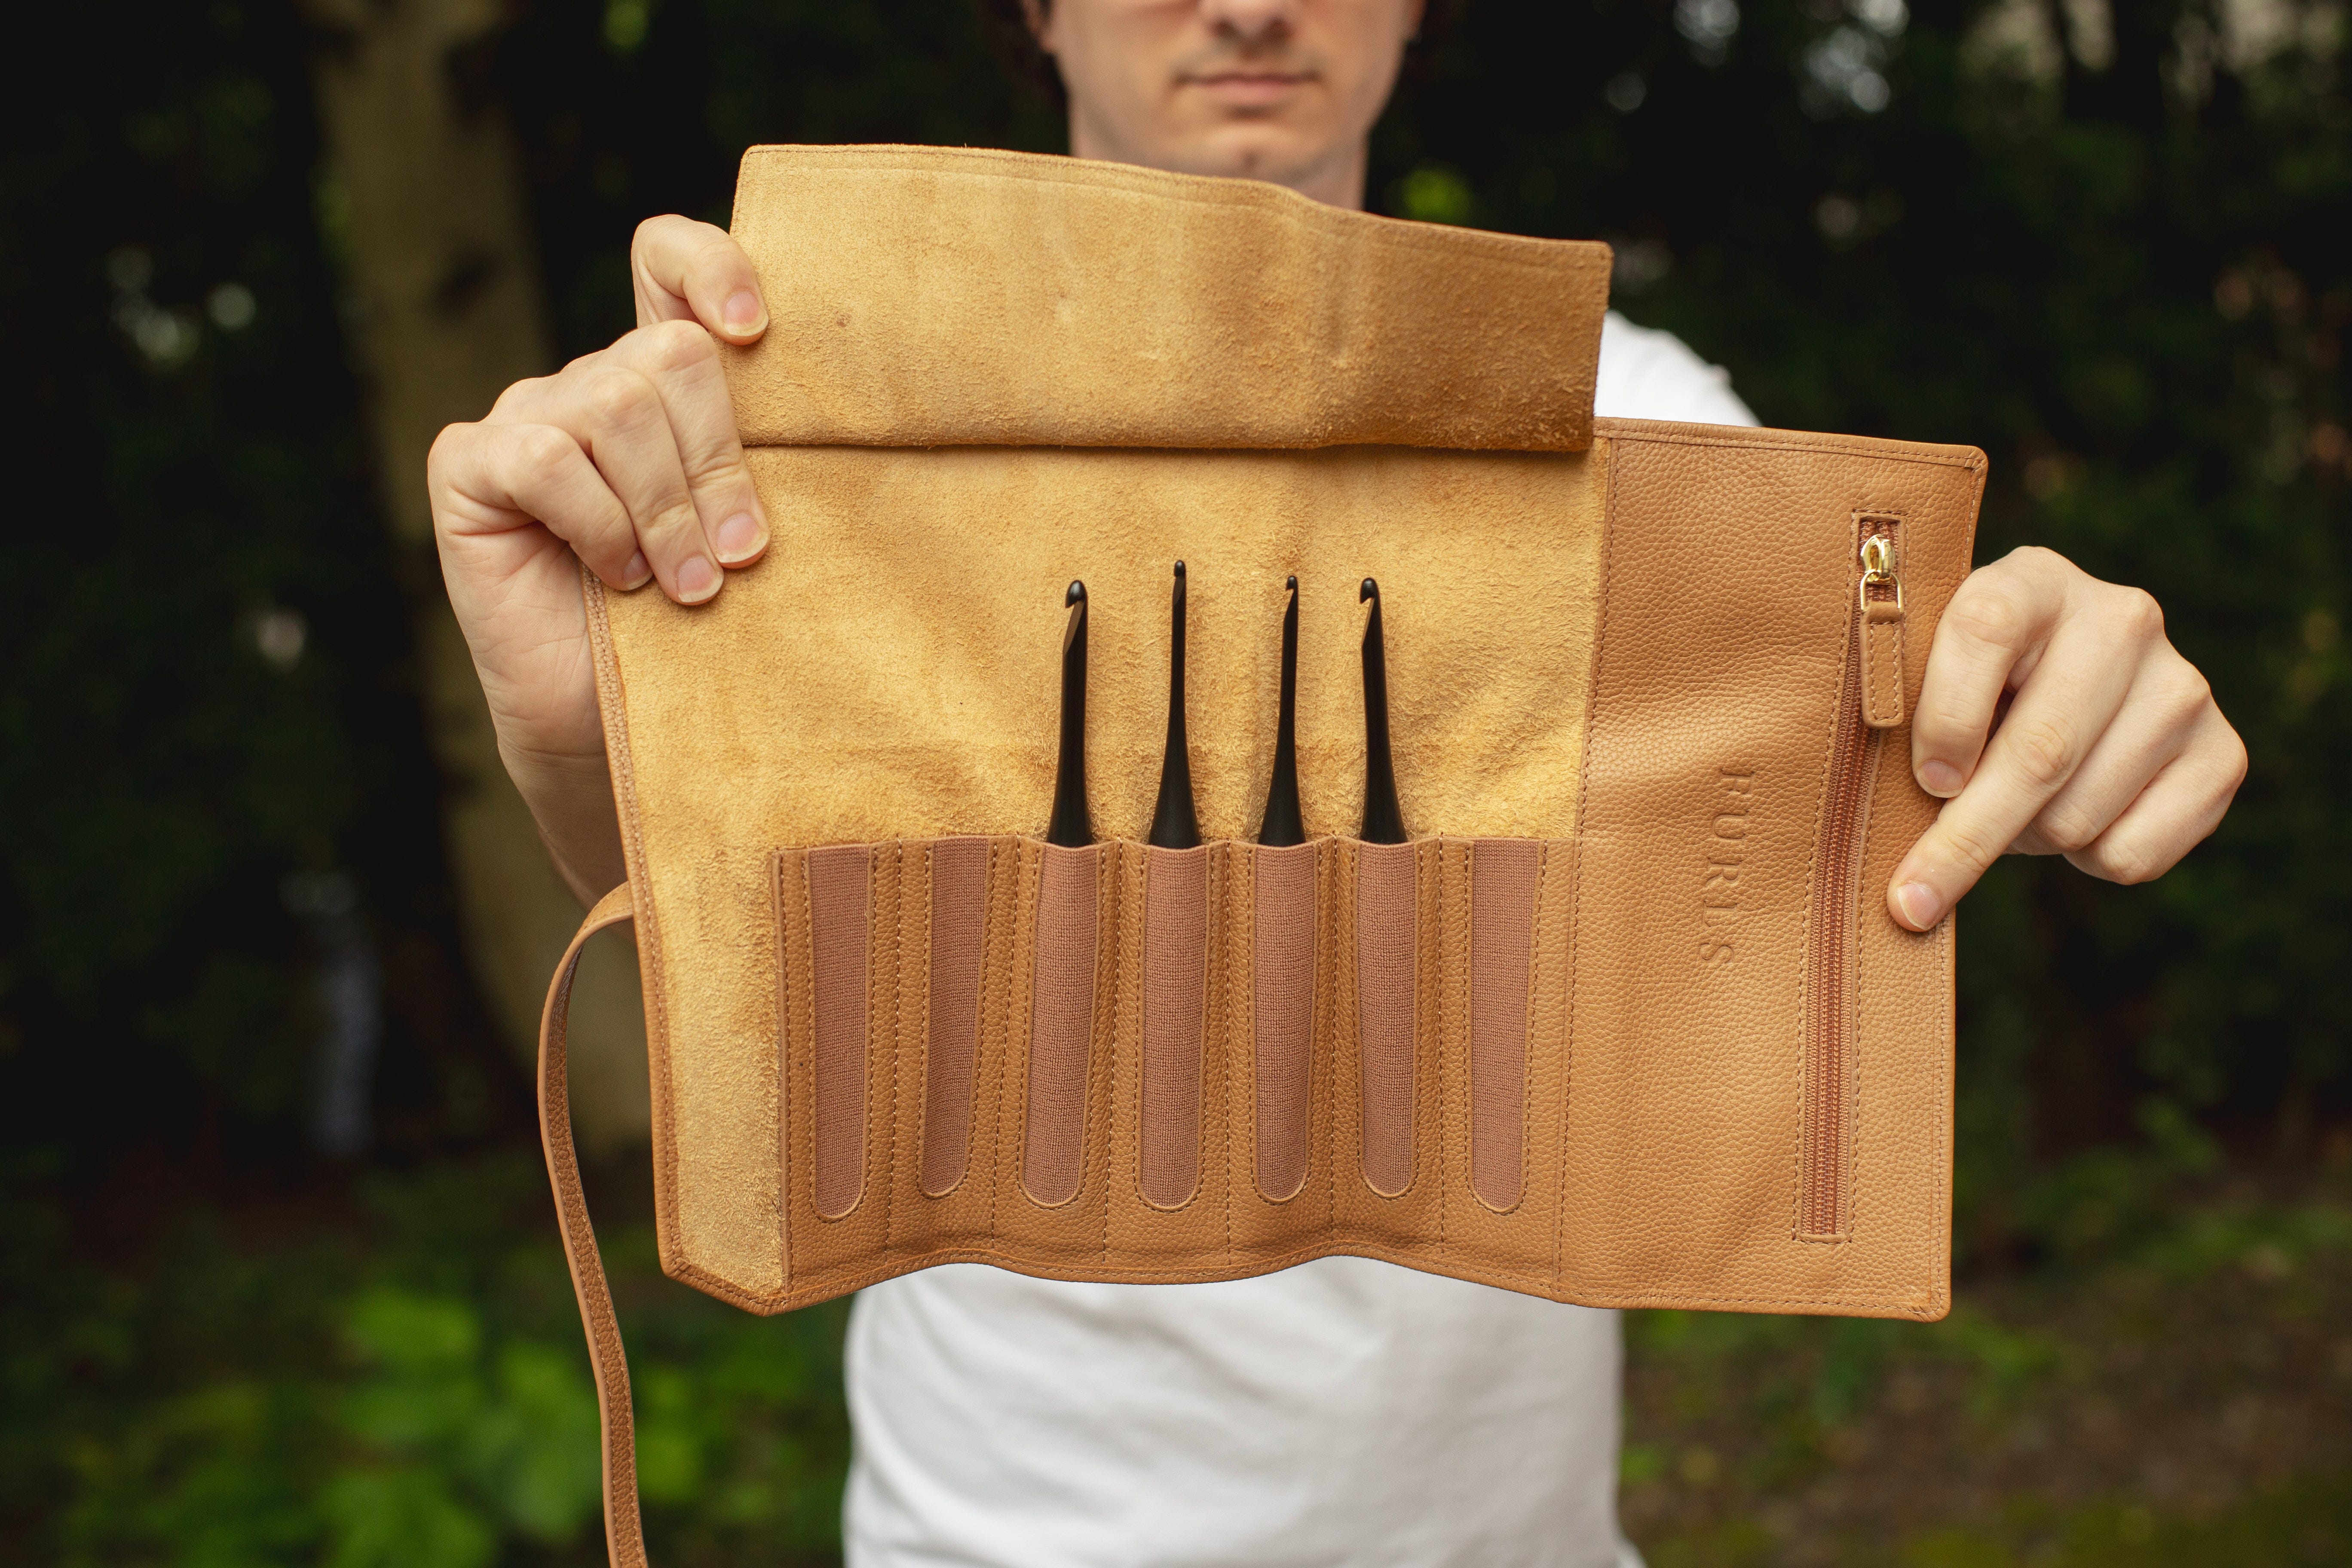
- Furls J/6.00mm hook in your choice of style
- I used my Furls Alpha Series hook, be sure to check out our super affordable Streamline Metal hooks
- 3 Buttons, about ¾" diameter (for optional collar)
- Yarn needle
PATTERN DETAILS
DIFFICULTY: Intermediate
SIZE(S)
Small – 5x
FINISHED MEASUREMENTS
Bust 38½ (41¼, 46¾, 49½, 55, 60½, 63¼, 68¾)"
Length 21 (21½, 23, 23, 24½, 25½, 26½, 28)"
TO FIT
Designed loose fitting (4-6" of ease in the body/bust) and close-fitting (1-2" of ease) for the ribbing sections- for information on how to measure click here
Small- 32-34" bust and 25-26 1/2" waist
Medium- 36-38" bust and 28-30" waist
Large- 40-42" bust and 32-34" waist
1x- 44-46" bust and 36-38" waist
2x- 48-50" bust and 40-42" waist
3x- 52-54" bust and 44-45" waist
4x- 56-58" bust and 56-57" waist
5x- 60-62" bust and 61-62" waist

ABBREVIATIONS
ch - chain, dc - double crochet, rep – repeat, rnd - round, RS - right side, sc - single crochet, sk – skip, sl st – slip stitch, sp – space, st(s) - stitch(es), tbl – through back, loop, WS – wrong side
SPECIAL STITCHES
Dc3tog (double crochet 3 together): [Yarn over, pull up a loop in indicated st or sp, yarn over and draw through 2 loops] 3 times, yarn over and draw through all 4 loops on hook.
Granny – 3 dc all in same indicated sp or st
Sc2tog (single crochet 2 together): Pull up a loop in each of 2 indicated sts or sps, yarn over and draw through all 3 loops on hook.
NOTES
- Ch 3 at beginning of granny rows counts as first dc
- Ch 1 at beginning of ribbed/edging rows is not considered the first st
- Pattern is worked in joined and turned rounds unless noted
- When instructed to join round, always join with a slip st in top of ch-3 at beginning of round
- Ch-1 spaces between grannies are not listed in stitch count
- Pattern is written in size small with changes for M, L, 1x, 2x, 3x, 4x and 5x in parenthesis
GAUGE
4 Grannies (including ch-1 sps in between) and 8 rows = 5½" (14 cm)
GAUGE PATTERN
Row 1: Ch 30
Row 2: Dc in 4th ch from hook (counts as 2dc in one st), *ch 1, skip one ch, dc in each of the next 3 chs, repeat from * till 2 chs remain, ch 1, skip one ch, dc in last st.


Row 3: Ch 3, turn, dc in first ch-1 sp, *ch 1, skip 3-dc, 3dc in next ch-1 sp, repeat from * until last ch-1 sp, ch 1, skip one st, dc in last st.


Repeat Row 3 seven times more, or until desired height

When you measure your gauge, you never want to count outside sts or the first or last row, as these edges will measure differently. Our entire swatch will be larger than the dimensions we need to measure for accuracy. See the images below for my measurements.


PART ONE

PATTERN
All photo tutorials are shown in size small
YOKE


Ch 60 (60, 60, 60, 68, 68, 68, 68), and join into a circle with sl st in first ch.
*As with any garment, be sure you do not make your chain too tight. If you tend to make tight chains then I'd suggest using a larger hook for this portion, or be mindful of being looser. Alternatively, you can use a foundation single crochet if you wish, I personally did not love the look of a foundation chain with this particular garment which is why I chose a ch.
Rnd 1 (WS): Ch 3 (counts as first dc here and throughout), dc each of next 2 ch, ch 3, dc in each of next 3 ch (first corner made), * [ch 1, sk next ch, dc in each of next 3 ch] 5 (5, 5, 5, 6, 6, 6, 6) times, ch 3, dc in each of next 3 ch (next corner made), * ch 1, sk next ch, dc in each of next 3 ch, ch 3, dc in each of next 3 ch (next corner made), rep from * to * once more, ch 1, join, turn – 16 (16, 16, 16, 18, 18, 18, 18) Grannies and 4 ch-3 corner sps.

Rnd 2: Ch 3, 2 dc in first ch-1 sp, ch 1, (3 dc, ch 3, 3 dc) in first corner ch-3 sp, * (ch 1, 3 dc) in each ch-1 sp to next corner ch-3 sp, ch 1, (3 dc, ch 3, 3 dc) in next corner ch-3 sp, * ch 1, 3 dc in next ch-1 sp , ch 1, (3 dc, ch 3, 3 dc) in next corner ch-3, rep from * to * once more, ch 1, join, turn – 20 (20, 20, 20, 22, 22, 22, 22) Grannies.

Rnd 3: Ch 3, turn, 2 dc in first ch-1 sp, * ch 1, (3 dc, ch 3, 3 dc) in corner ch-3 sp, (ch 1, 3 dc) in each ch-1 sp to next corner ch-3 sp; rep from * twice more, ch 1, (3 dc, ch 3, 3 dc) in corner ch-3 sp, ch 1, 3 dc in next ch-1 sp, ch 1, join, turn – 24 (24, 24, 24, 26, 26, 26, 26) Grannies.
Next 6 (7, 8, 8, 9, 10, 11, 12) rnds: Ch 3, turn, 2 dc in first ch-1 sp, * (ch 1, 3 dc) in each ch-1 sp to next corner ch-3 sp, ch 1, (3 dc, ch 3, 3 dc) in corner ch-3 sp, rep from * 3 more times, (ch 1, 3 dc) in each ch-1 sp to end, ch 1, join, turn – 48 (52, 56, 56, 62, 66, 70, 74) Grannies
Fasten off.

Image is shown after Round 5
SEPARATE FOR BODY AND SLEEVES
With RS facing, join yarn with a sl st in a ch-3 corner sp so you are ready to work across one of the longer edges.
Next rnd (RS): Ch 3, turn, 2 dc in same sp as joining slip st, * (ch 1, 3 dc) in each ch-1 sp to next ch-3 corner sp, ch1, 3 dc in ch-3 corner sp, ch 1 (1, 4, 7, 7, 10, 10, 13) for underarm * 3 dc in next ch-3 corner sp skipping all sts in between (armhole made), rep from * to * once more, join (second armhole made), turn – 30 (32, 34, 34, 38, 40, 42, 44) Grannies and 2 (2, 8, 14, 14, 20, 20, 26) underarm ch sts .
BODY
Rnd 1: Ch 3, turn, 2 dc in next underarm ch (be sure to work into the ch st and not the space), * [ch 1, sk 2 ch, 3 dc in next ch] 0 (0, 1, 2, 2, 3, 3, 4) times, (ch 1, 3 dc) in each ch-1 sp to next underarm ch, * ch 1, 3 dc in next underarm ch, rep from * to * once more, ch 1, join, turn – 30 (32, 36, 38, 42, 46, 48, 52) Grannies.
Rnds 2-5: Ch 3, turn, 2 dc in first ch-1 sp, (ch 1, 3 dc) in each ch-1 sp around, ch 1, join, turn. If you 'd like to make the sweater longer, add as many rows here as you like, be sure to end on an odd number.
Rnd 6: Ch 3, turn, 2 dc in first ch-1 sp, 3 dc in each ch-1 sp around, join – 30 (32, 36, 38, 42, 46, 48, 52) Grannies (no ch-1 spaces in between).
Bottom Ribbing
Ribbing is worked back and forth in rows.

Ch 13.
Row 1 (RS): Sc in 2nd ch from hook and in each of next 10 ch, sc2tog over next ch and 2nd dc at Body edge skipping over first dc, turn – 12 sc.


Row 2: Ch 1, sc tbl in each sc to end, turn – 12 sc.

Row 3: Ch 1, sc tbl in each of first 11 sc, sc2tog over next sc and 2nd dc at Body edge skipping over first dc, turn – 12 sc.

Rep Rows 2 and 3 alternately around bottom edge.

With WS facing and working downward, join first and last rows by working sl sts through both layers.
Next rnd (RS): Ch 1, sc evenly around bottom edge.
Fasten off.

PART TWO

SLEEVES
With RS facing, join yarn with a sl st in a corner ch-3 sp just before underarm ch.
For first 2 sizes only:
Rnd 1: Ch 3, dc3tog over same ch-3 sp as joining sl st, underarm ch st, and next ch-3 sp, dc again in the same ch-3 sp where you ended last dc3tog (last 3 sts made count as 1 Granny), (ch 1, 3 dc) in each ch-1 sp around, join – 10 (11, -, -, -, -, -, -) Grannies.


For last 6 sizes only:
Rnd 1: Ch 3, 2 dc in same ch-3 corner sp as joining sl st, (ch 1, 3 dc) in each sp between Body Grannies at underarm, ch 1, 3 dc in next ch-3 corner sp, (ch 1, 3 dc) in each ch-1 sp around, join, turn - - ( -, 13, 14, 15, 17, 18, 20) Grannies.

For all sizes:
Next 2 (2, 2, 3, 3, 3, 4, 4) Rnds: Ch 3, turn, 2 dc in first ch-1 sp, (ch 1, 3 dc) in each ch-1 sp around, around, ch 1, join – 10 (11, 13, 14, 15, 17, 18, 20) Grannies.
Next Rnd: Ch 3, turn, 2 dc in first ch-1 sp, 3 dc in each ch-1 sp around, join – 10 (11, 13, 14, 15, 17, 18, 20) Grannies (no ch-1 spaces in between).
Bottom Ribbing
Work same as Body, refer to Week Two for directions and stitch diagram
Make your second Sleeve the same way.

FINISHING
Neck Edging
With RS facing, join yarn with sl st in any st along back neck.
Ch 1, sc evenly around neckline working a sc2tog at each corner, join.
Fasten off.
If you have decided on the boat neck finishing option than you are done, yay! You can now wear your Sailor's Moon Cropped Sweater. If you have decided to do the optional split cowl neck then please tune back in next week. In the meantime, you can totally rock your sweater like this for a week. Or better yet, make a second and have both options.
PART THREE

PATTERN
Optional Collar
The collar is worked back and forth in rows. The collar is worked the same way as the bottom ribbing and sleeves, picture tutorial in Week Two.
With RS facing, join yarn in left front corner of neck edge.
Ch 25 (25, 25, 27, 27, 27, 29, 29).
Row 1 (RS): Sc in 2nd ch from hook and in each of next 22 (22, 22, 24, 24, 24, 26, 26) ch, sc2tog over next ch and next sc at neck edge, turn – 24 (24, 24, 26, 26, 26, 28, 28) sc.
Row 2: Ch 1, sc tbl in each sc to end, turn.
Row 3: Ch 1, turn, sc tbl in each of next 23 (23, 23, 25, 25, 25, 27, 27) sc, sc2tog over the last sc of ribbing and next sc at neck edge, turn – 24 (24, 24, 26, 26, 26, 28, 28) sc.
Rep Rows 2 and 3 alternately around neck edge.
Final row (buttonhole row): Ch 1, turn, sc in each of next 4 (4, 4, 5, 5, 5, 6, 6) sc, ch 4, sl st in same st (first buttonhole made), * sc in each of next 8 sc, ch 4, sl in same st (next buttonhole made); rep from * once more, sc in each of remaining 4 (4, 4, 5, 5, 5, 6, 6) sc, sl st in neck edge.
Fasten off.
Sew buttons on corresponding with button loops on opposite side of the collar.
Weave in all loose ends.
You can wear your cowl open or closed. You can even just do 1-2 buttons.

Thanks again for making this CAL a blast!

About the Designer: In 2017 when this pattern was originally published, Lorene Eppolite was the designer behind Cre8tion Crochet, and she worked for Furls until 2025. She has been designing since October 2012. She loves to create fun and easy crochet accessories and garments. She strives to make her designs to be achievable for any skill level. Just because it is easy, doesn't mean it can't be beautiful. Lorene was named one of the Top Ten Designers by The Yarn Box in 2012 and by AllFreeCrochet in 2013, 2014 and 2015. See Lorene's Patterns on Ravelry.


