

It's March and that means Spring is right around the corner! What better way to embrace the season then to crochet a super cute Amigurumi! Bria Bunny is a sweet and playful bunny, always found munching on tasty carrots. Bria loves to cuddle and makes a wonderful gift for children.

ABOUT OUR DESIGNER
Ashley is a crochet designer that lives in Hamilton, Ontario, Canada with her wonderful husband and 2 adorable children. She started her blog www.theloopylamb.com in August of 2018 in order to share her passion for crochet and crafting with others. Crochet started out as a way to relieve stress and anxiety but soon became a passion.
Follow Ashley
YouTube | Newsletter | Instagram | Pinterest | Facebook

SUPPLIES
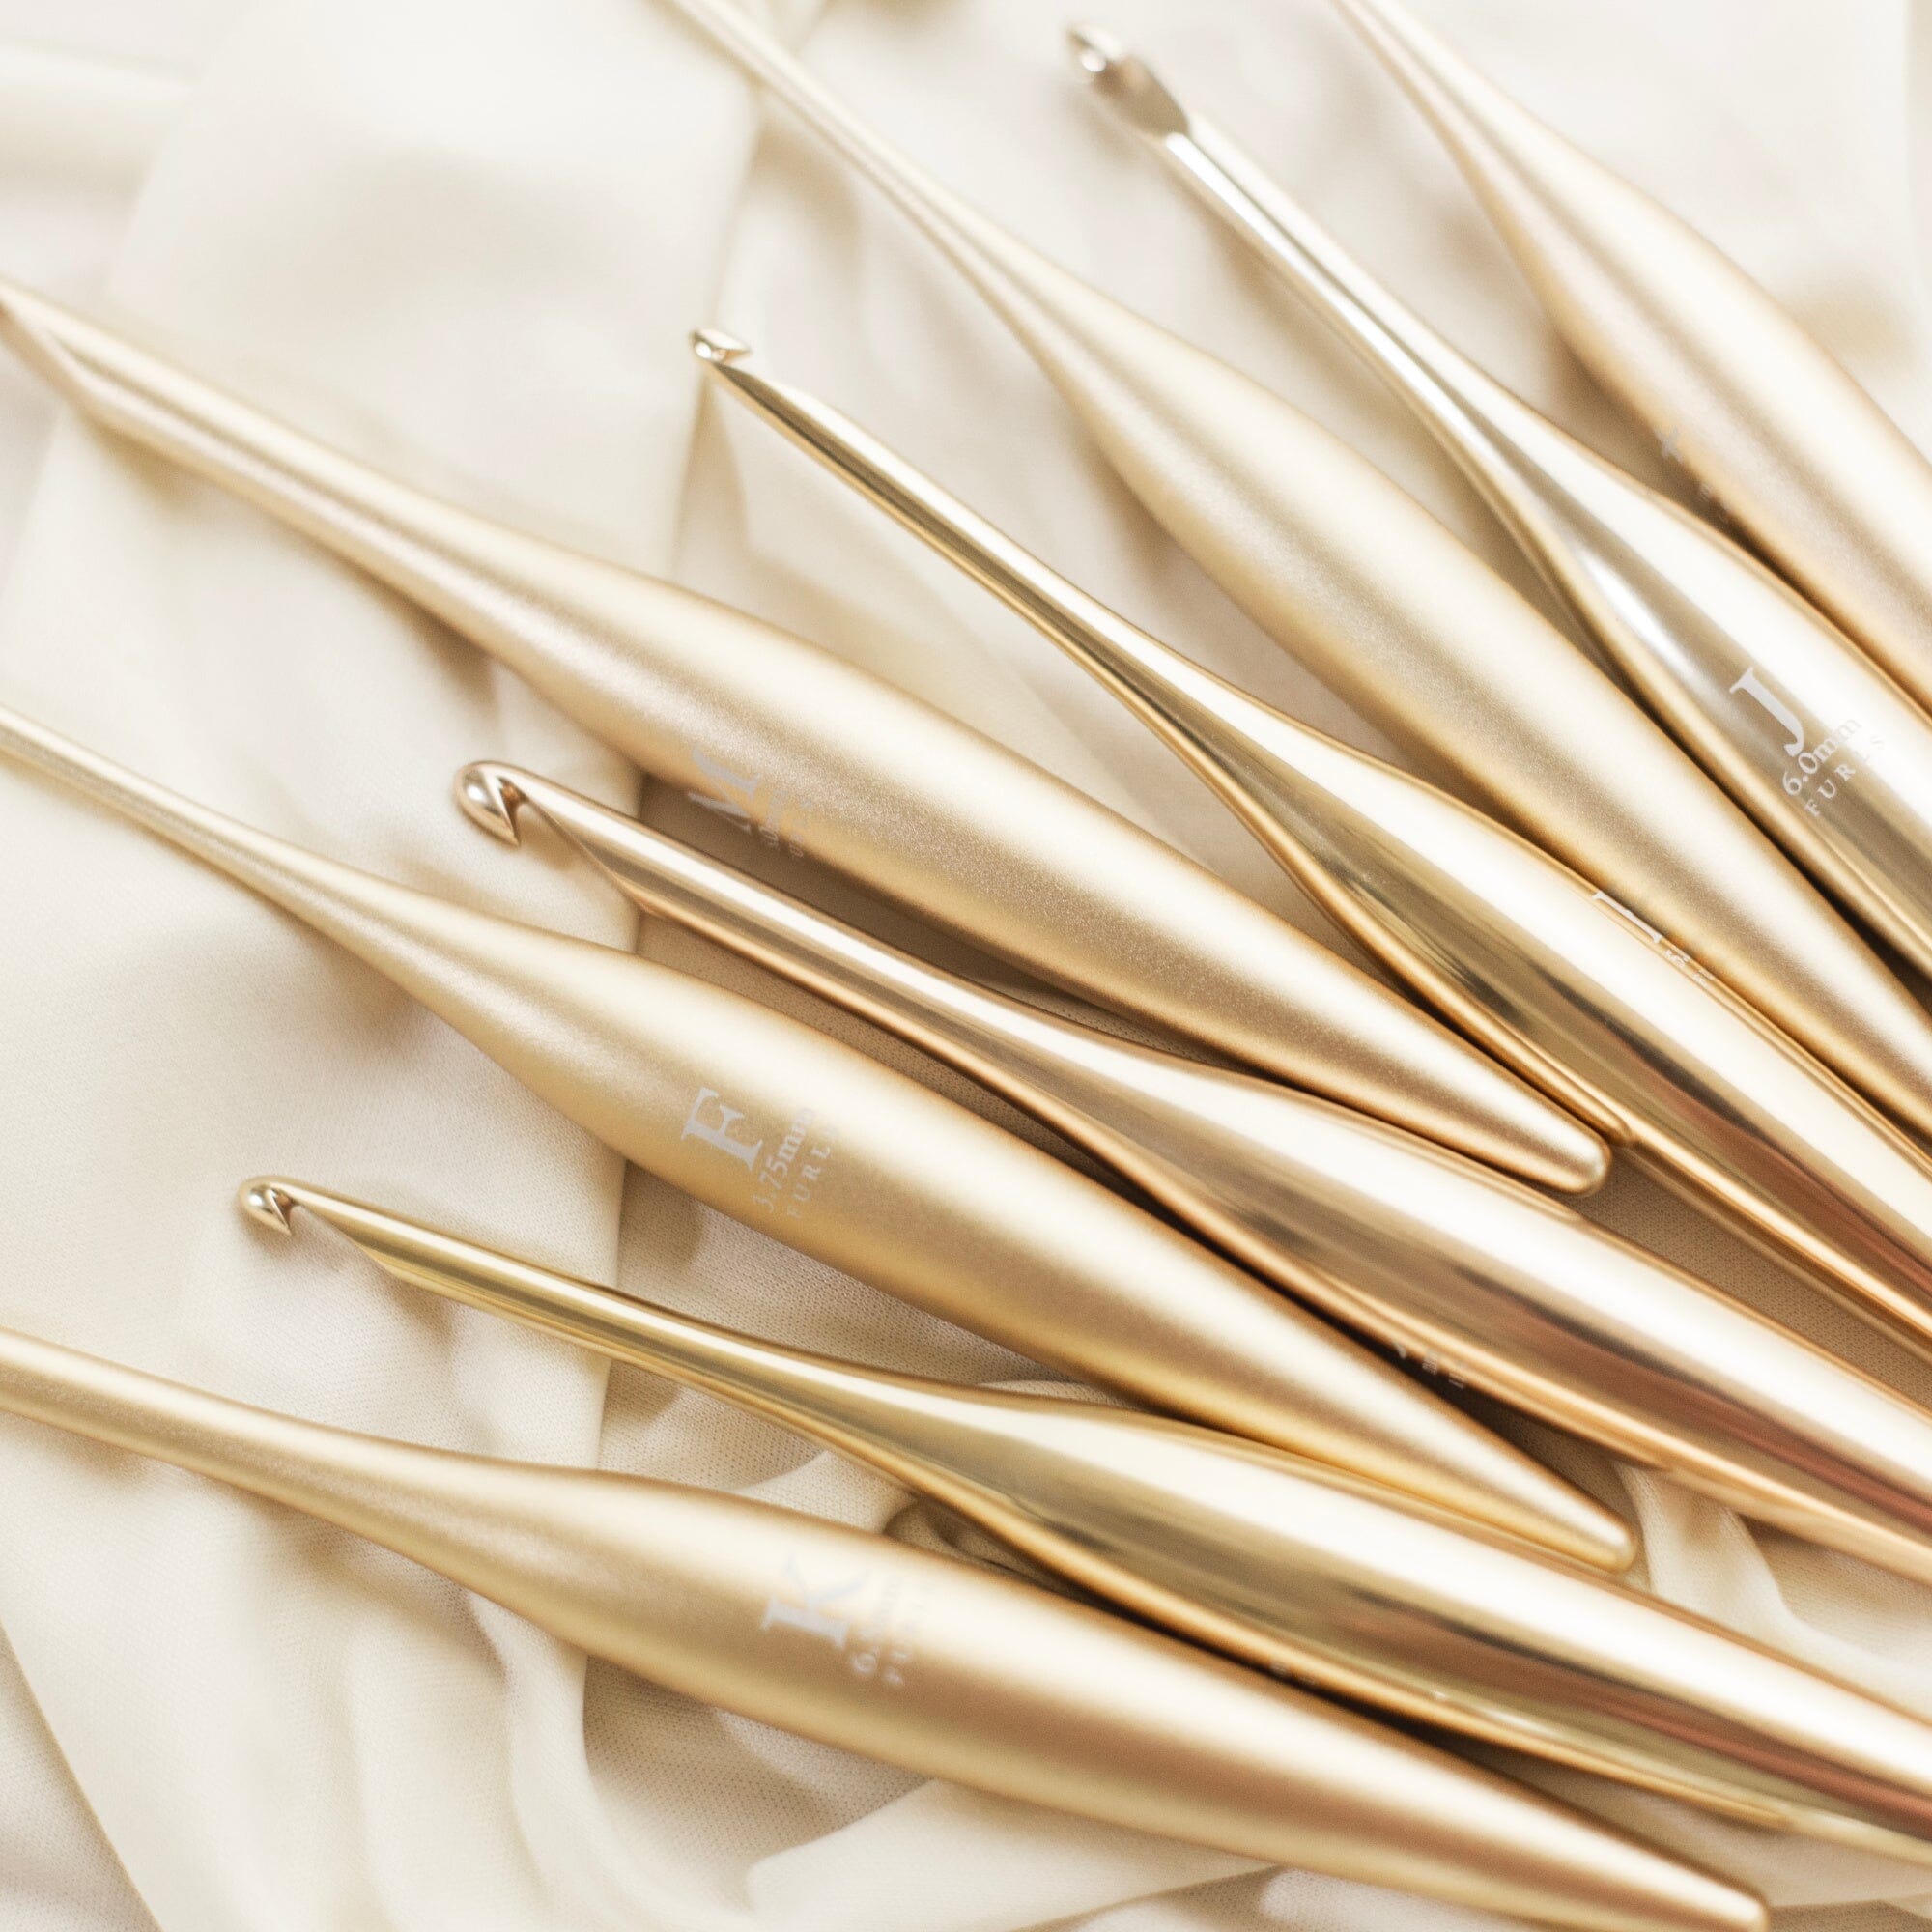
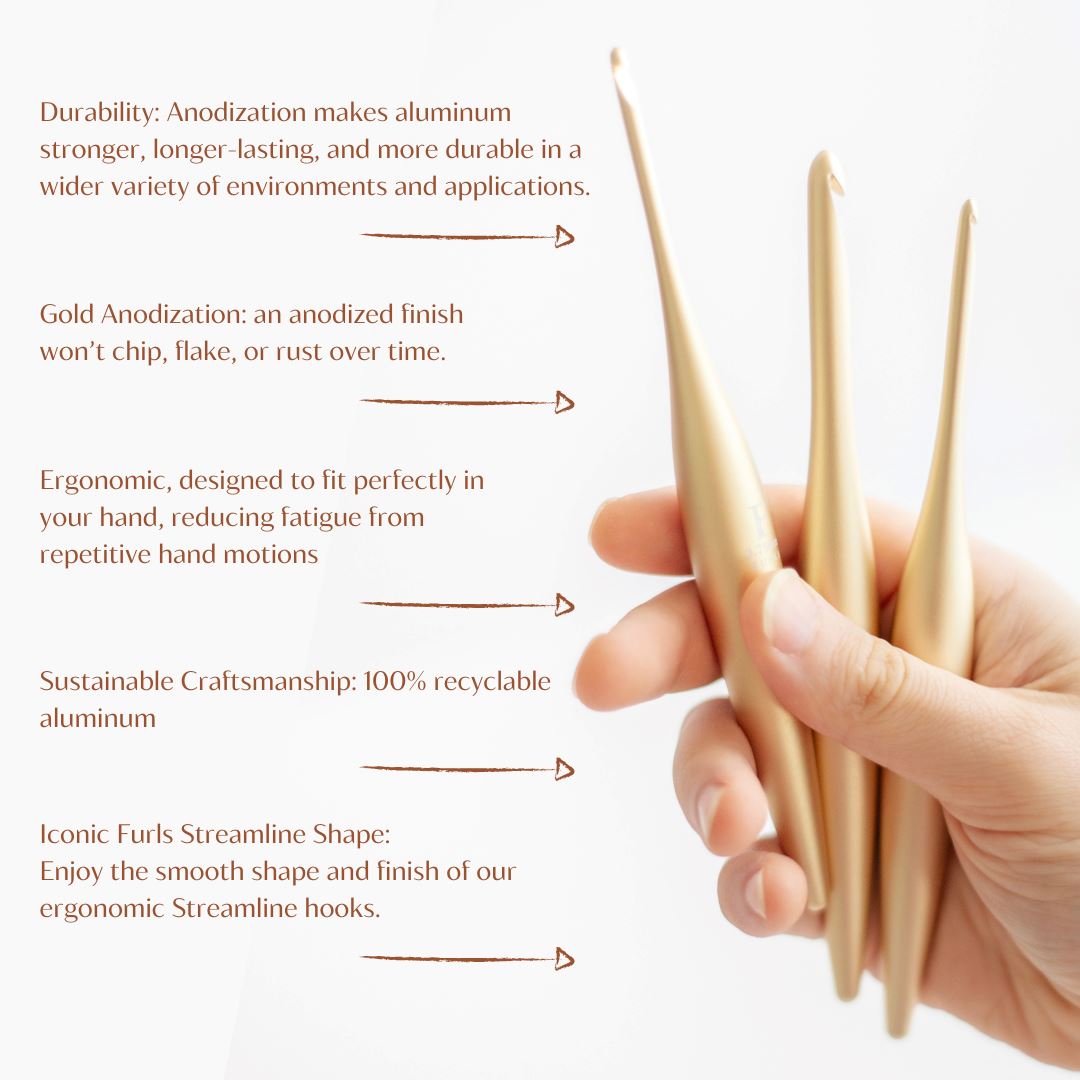
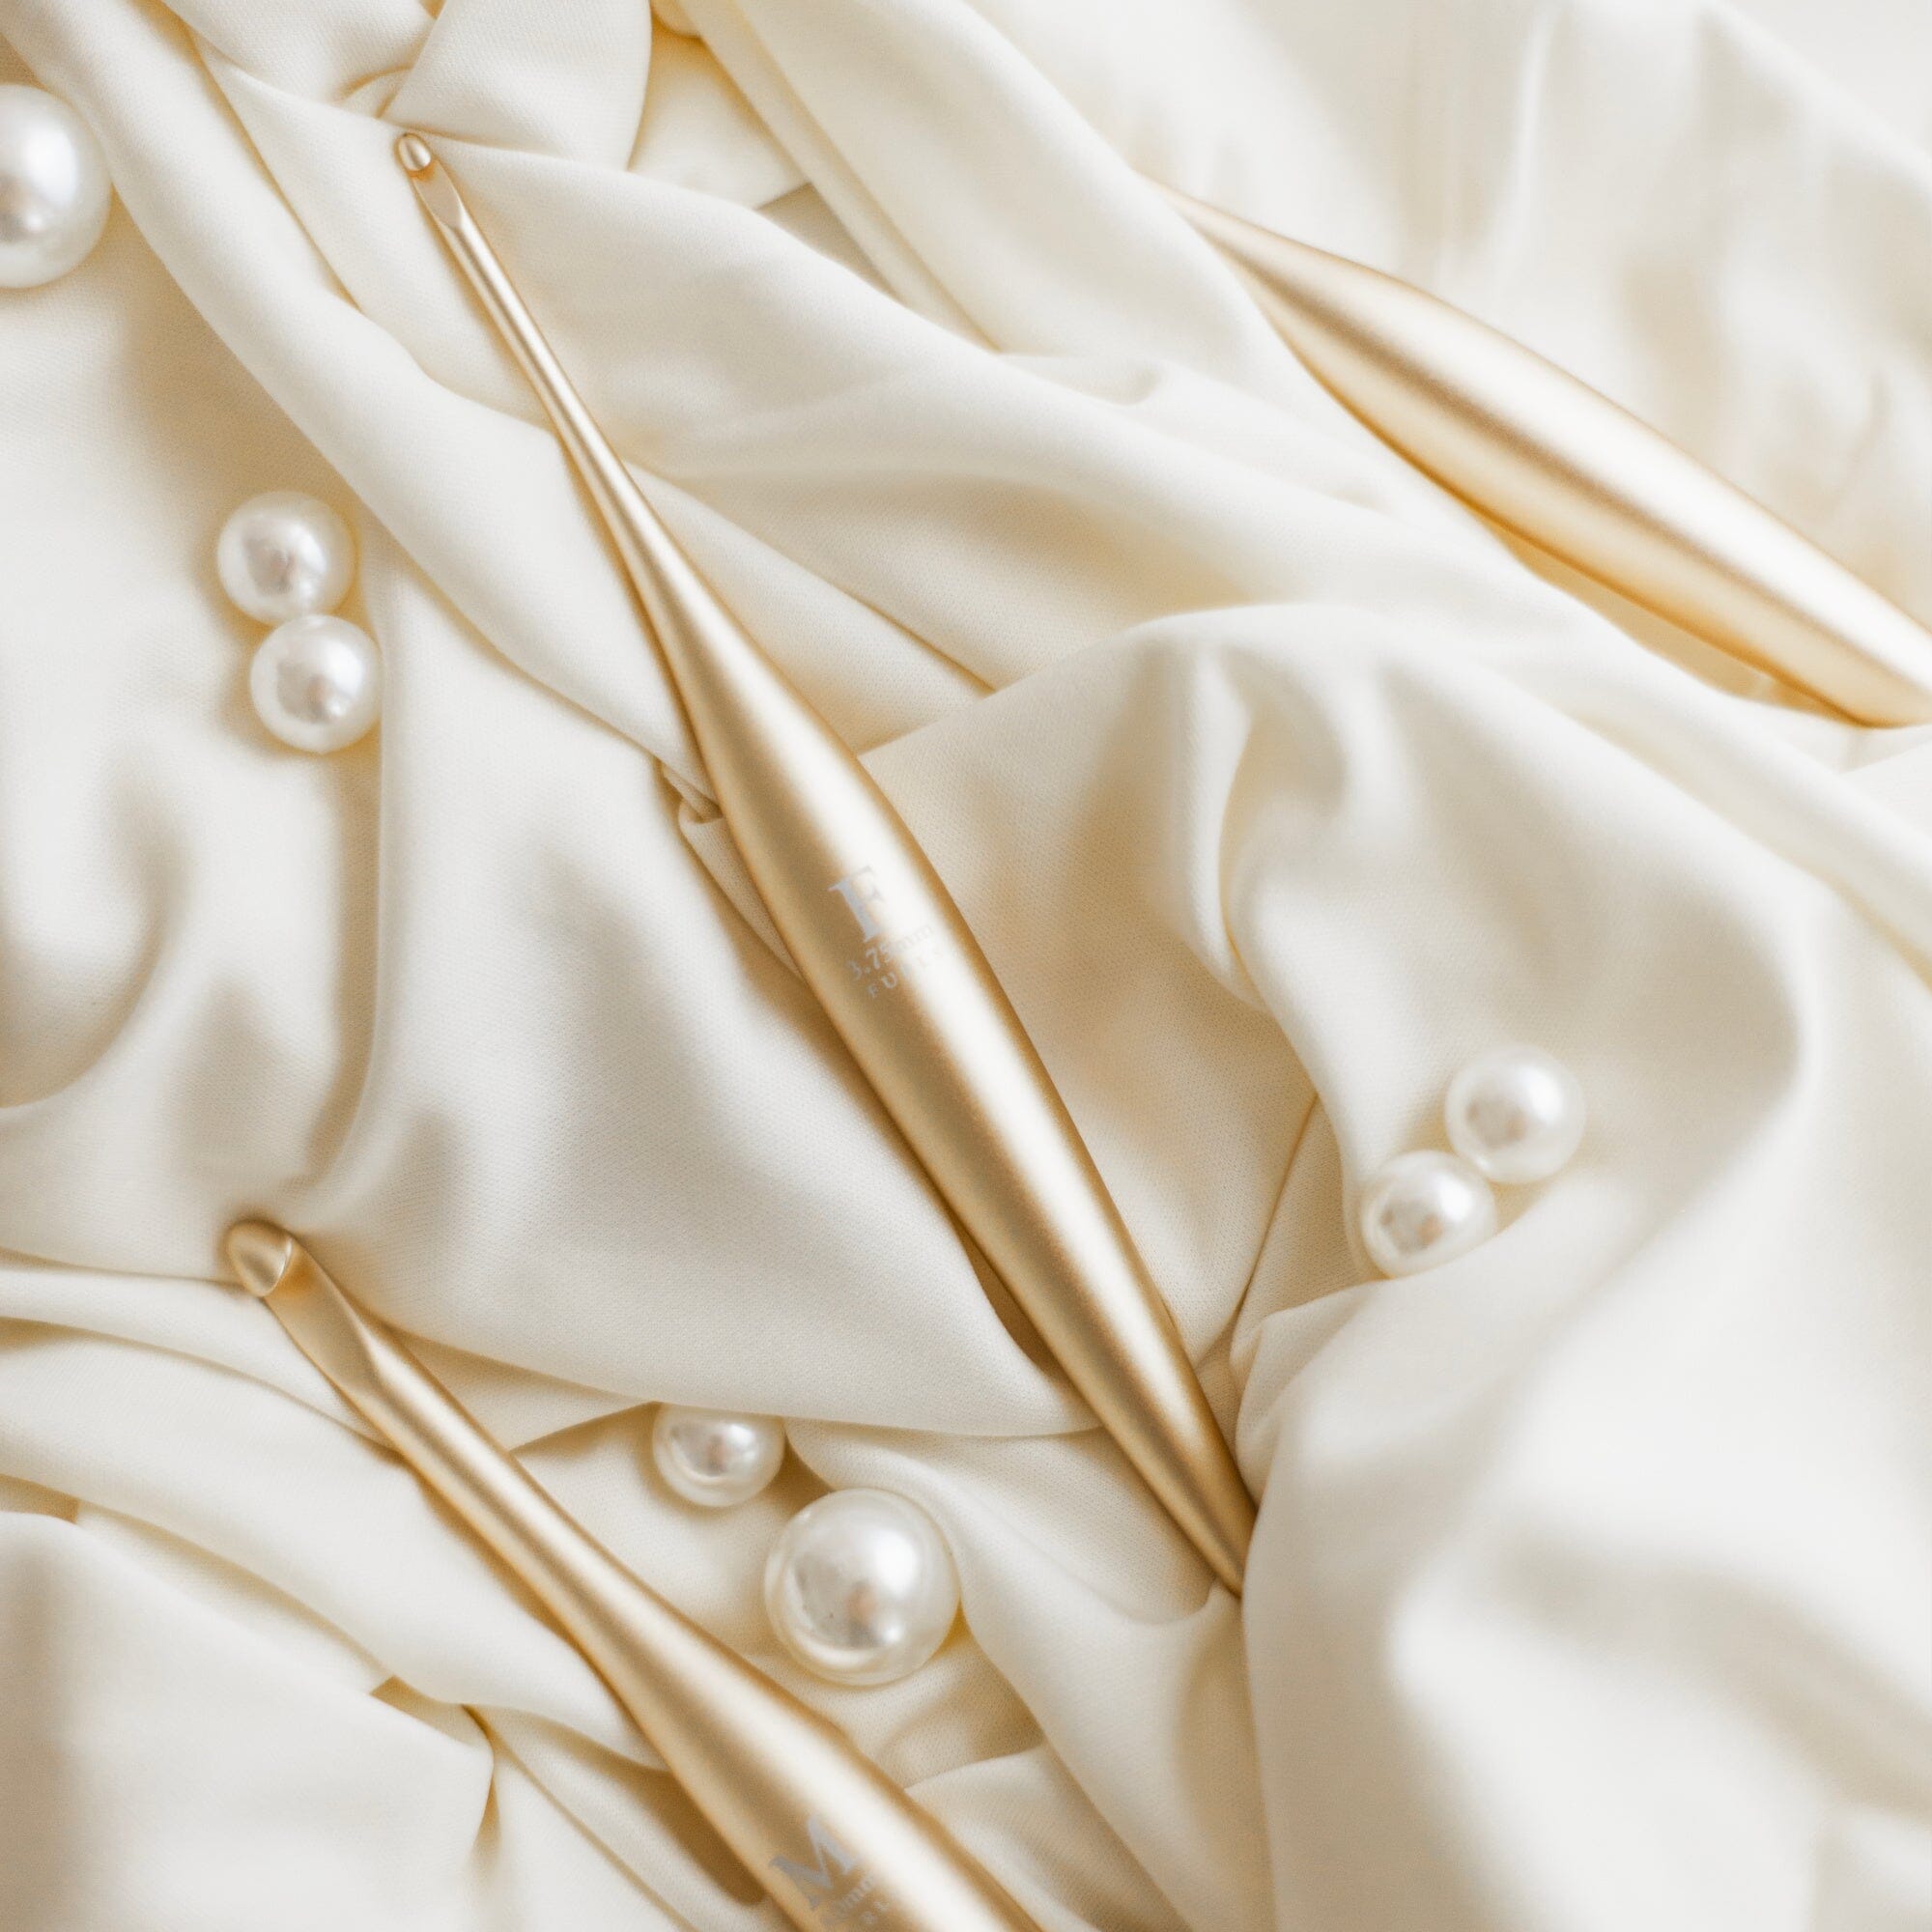
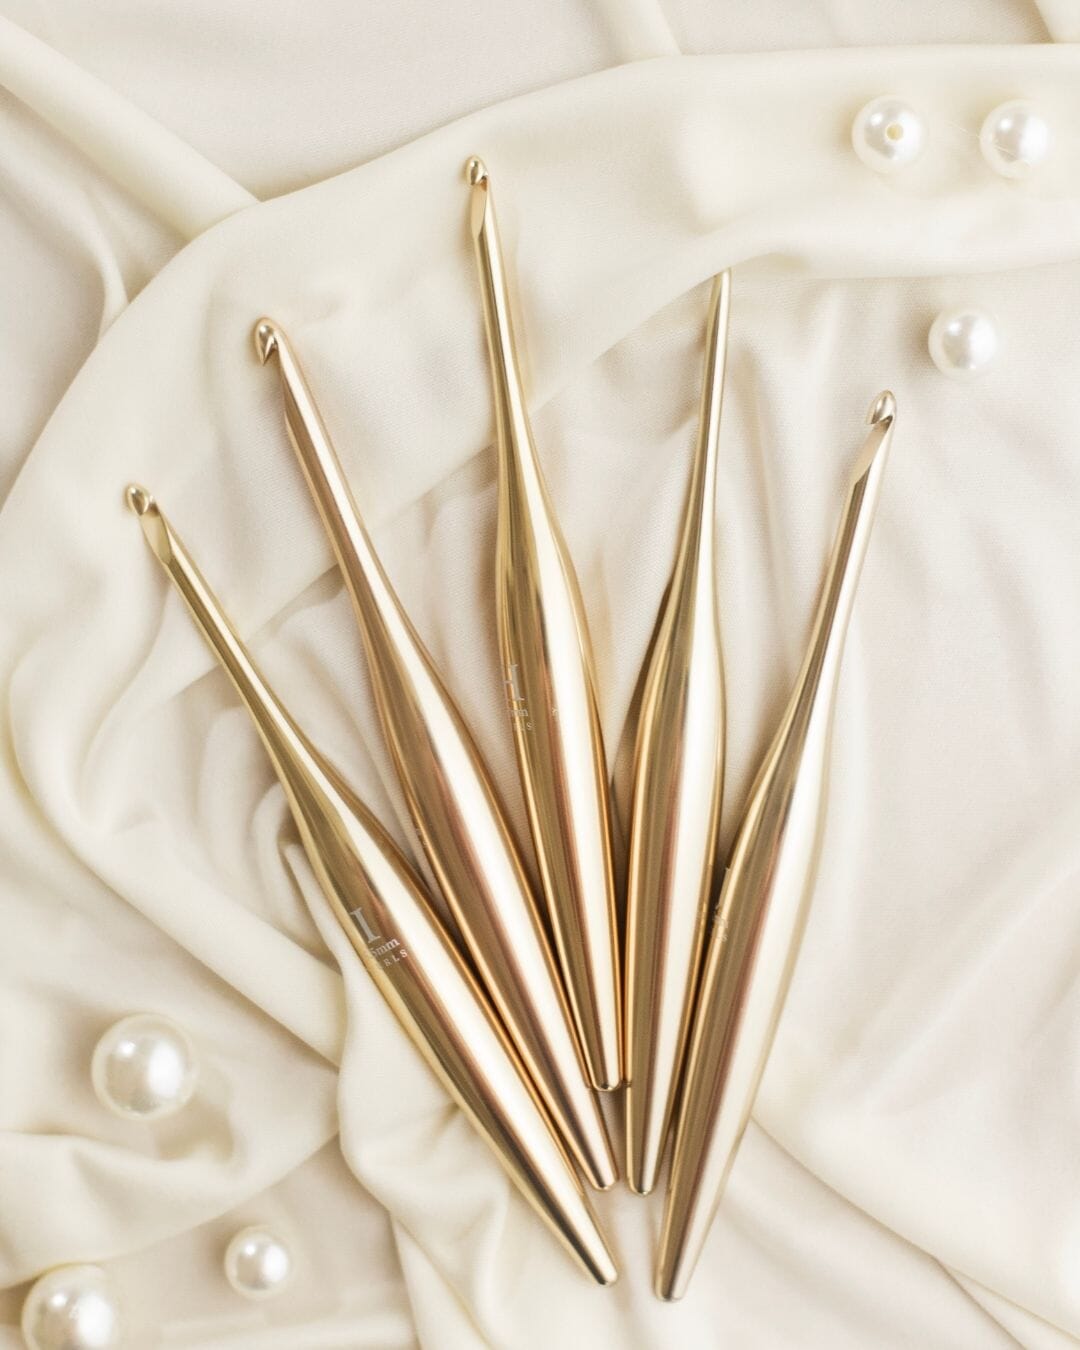
- 5 mm Furls Odyssey Crochet Hook
- 3.5 mm Furls Odyssey Crochet Hook
- We Crochet Fable Fur (100% Polyester, 71 yds/65 m, 100g/3.5oz), Color A: Paloma, 2 skeins (approx. 88 yds/81 m (124 g/4.4 oz) needed), Color B: Eisbar, 1 skein (approx. 5 yds/5 m (7 g/0.25 oz) needed)
- We Crochet Brava Worsted (100% Premium Acrylic, 218 yds/199 m, 100g/3.5oz), Color C: Cotton Candy, 1 skein (1 yds/1 m (0.5 g/ 0.02 oz) needed), Color D: Orange, 1 skein (11 yds/10 m (5 g/ 0.18 oz) needed), Color E: Peapod, 1 skein (11 yds/10 m (5 g/ 0.18 oz) needed).
- 2 – 24 mm Blue Safety Eyes – The ones I’m using are Sapphire Glitter Eyes from Chateau Bornais Crochet on Etsy
- Polyester Stuffing
- Tapestry Needle
- Scissors
- Stitch Marker
PATTERN DETAILS
Skill Level:
- Easy
Terminology:
- U.S. Terminology
Abbreviations:
- CH = Chain
- FLO = Front Loop Only
- FO = Finish Off
- MC = Magic Circle
- SC = Single Crochet
- SC3TOG = SC Three Together/Single Crochet Decrease across 3 Stitches.
- SCDEC = Single Crochet Decrease
- SCINC = Single Crochet Increase/2 Single Crochet in the Same Stitch
- SL ST = Slip Stitch
- ST = Stitch
Special Stitches
- SC3TOG/ SC Three Together: Insert hook into first stitch, yarn over and pull through stitch. Two loops on hook. Insert hook into second stitch, yarn over and pull through stitch. Three loops on hook. Insert hook into third stitch, yarn over and pull through stitch. Four loops on hook. Yarn over and pull all four loops on hook. Stitch completed.
Finished Size:
- Bunny: Approximately 12” tall
- Carrot: Approximately 4” tall from tip of carrot to end of greens
Gauge:
- Bunny: 4 sts x 5.5 rows = 2”
- Carrot: 10 sts x 13 rows = 2”
Notes:
- Gauge is not vital to the project as long as the same tension is maintained throughout the project and there are no holes that stuffing can be seen through however, it may affect the amount of yarn needed for the project.
- A 5.5mm crochet hook is recommended for the Fable Fur portions of the project but if you find you are unable to feel your stitches, you can adjust your hook size until you can more easily feel your stitches to know where to place your stitches. This may, however, affect your gauge and therefore, the amount of yarn needed.
- When making a Magic Circle with faux fur yarn, do not crochet over the tail. Watch my video of tips and tricks for working with faux fur yarns HERE.
- This pattern is worked in continuous rounds (unless stated otherwise). Do not join at the end of the round, unless indicated. A stitch marker is used to keep track of the beginning of the round.
- All pieces made in the Fable Fur are worked and sewn onto the project with the wrong side facing out to show the better-looking side of the fur.
PART ONE
Let the fun begin! This week we make the Head, Snout & Ears of Bria Bunny
Head
Round 1: Using Fable Fur in Color A: Paloma and 5.5mm hook, make a MC and SC 6 into the MC. (6)
Round 2: (SCINC) x 6 (12)
Round 3: (SC, SCINC) x 6 (18)
Round 4: SC, SCINC, (SC 2, SCINC) x 5, SC (24)
Rounds 5 - 11: SC around (24) - Place safety eyes in Round 8 with 3 STS between them.
Round 12: SC, SCDEC, (SC 2, SCDEC) x 5, SC (18)
Start adding stuffing and continue to add stuffing as you work. Stuff firmly.
Round 13: (SC, SCDEC) x 6 (12)
Round 14: (SCDEC) x 6 (6)
FO and weave in ends.

Snout
Round 1: Using Fable Fur in Color A: Paloma and 5.5mm hook, make a MC and SC 6 into the MC. (6)
Round 2: (SCINC) x 6 (12)
Round 3: SC around (12)
FO leaving a long tail to sew onto the face.
Using a 40” length of Brava Worsted Weight in Color C: Cotton Candy, embroider a triangle nose onto the snout. Sew snout onto the head, lining the top edge of the snout up with the bottom edge of the eyes, adding stuffing between the head and snout as you attach it.
Ears (Make Two)Round 1: Using Fable Fur in Color A: Paloma and 5.5mm hook, make a MC and SC 4 into the MC. (4)
Round 2: SC around (4)
Round 3: (SCINC) x 4 (8)
Rounds 4 - 5: SC around (8)
Round 6: (SC, SCINC) x 4 (12)
Rounds 7 - 9: SC around (12)
Round 10: (SC, SCDEC) x 4 (8)
Round 11: SC around (8)
Round 12: (SCDEC) x 4 (4)
FO leaving a long tail to sew onto the head. Do not stuff.

PART TWO
Time to continue making Bria Bunny, this week we make her body & arms.
Body
Round 1: Using Fable Fur in Color A: Paloma and 5.5mm hook, make a MC and SC 6 into the MC. (6)
Round 2: (SCINC) x 6 (12)
Round 3: (SC, SCINC) x 6 (18)
Round 4: SC, SCINC, (SC 2, SCINC) x 5, SC (24)
Rounds 5 - 7: SC around (24)
Round 8: SC, SCDEC, (SC 2, SCDEC) x 5, SC (18)
Round 9: SC around (18)
Round 10: (SC, SCDEC) x 6 (12)
Start stuffing, adding a bit more stuffing every round. Stuff firmly.
Rounds 11 - 15: SC around (12)
FO leaving a long tail to sew the body to the head.
Arms (Make Two)
Round 1: Using Fable Fur in Color A: Paloma and 5.5mm hook, make a MC and SC 6 into the MC. (6)
Rounds 2 - 10: SC around (6)
FO leaving a long tail to sew onto body. Do not stuff.

PART THREE
Coming Thursday, March 25, 2021It's time to finish Bria Bunny and make her adorable carrot! When you are done please share your images on the Fun with Furls Crochet and Knit Facebook Group!
Legs, Tail & Carrot
Legs (Make Two)
Round 1: Using Fable Fur in Color A: Paloma and 5.5mm hook, make a MC and SC 6 into the MC. (6)
Round 2: (SCINC) x 6 (12)
Rounds 3 - 4: SC around (12)
Round 5: (SCDEC) x 3, SC 6 (9)
Round 6: (SCDEC) x 3, SC 3 (6)
Add stuffing to foot. Continue to add stuffing to the leg as you work.
Rounds 7 - 14: SC around (6)
Finish stuffing and FO leaving a long tail to sew onto the body.
Whip stitch the top of the leg closed and sew the legs onto the bottom of the body.
Tail
Round 1: Using Fable Fur in Color B: Eisbar and 5.5mm hook, make a MC and SC 6 into the MC. (6)
Round 2: (SCINC) x 6 (12)
Rounds 3 - 4: SC around (12)
Add stuffing to the tail and FO leaving a long tail to sew onto the body.
Sew the tail onto the back of the body near the bottom.

Carrot
Round 1: Using Brava Worsted Weight in Color D: Orange and 3.5mm hook, make a MC and SC 6 into the MC. (6)
Round 2: SC around (6)
Round 3: (SCINC, SC 2) x 2 (8)
Round 4: (SC 3, SCINC) x 2 (10)
Round 5: SC 2, SCINC, SC 4, SCINC, SC 2 (12)
Round 6: (SCINC, SC 5) x 2 (14)
Round 7: SC 4, SCINC, SC 6, SCINC, SC 2 (16)
Round 8: SC, SCINC, SC 7, SCINC, SC 6 (18)
Round 9: (SC 8, SCINC) x 2 (20)
Round 10: SC 5, SCINC, SC 9, SCINC, SC 4 (22)
Rounds 11 - 12: SC around (22)
Round 13: SC, SCDEC, (SC 4, SCDEC) x 3, SC (18)
Start adding stuffing. Add a bit more stuffing as you continue to work. Stuff firmly.
Round 14: (SC, SCDEC) x 6 (12)
Round 15: (SCDEC) x 6 (6)
FO leaving a long tail. Thread the yarn tail onto a tapestry needle and weave through the front loops of each stitch in Round 15 and pull the yarn to close the hole. Weave in ends.
Carrot Greens
Round 1: Using Brava Worsted Weight in Color E: Peapod and 3.5mm hook, make a MC and SC 6 into the MC. (6)
Round 2: (SCINC) x 6 (12)
Round 3: In FLO SC, *CH 11, working down the chain, starting in the 2nd CH from the hook, (SC, SCINC) x 5, in FLO SC in the next ST of Round 2; repeat from * until you have 9 leaves. In FLO SC3TOG. Join to first ST of Round with a SL ST.
FO leaving a long tail to sew onto the carrot. Sew onto the carrot, working through the back loops of Round 3 to sew it to the carrot.
Optional: Using a length of Color D: Orange yarn, sew the completed carrot to the bottom of both arms to make the bunny hold the carrot.