

Originally posted in 2020. Updated 7/29/2024

ABOUT OUR DESIGNER
Brenna Eaves is the one-woman team behind Little Raven Fiber Arts. A self-taught fiber artist with more than 13 years’ experience building things with stitches, she has the type of yarn stash that, if unraveled and tied end to end, would stretch to the moon and back. Though also an accomplished knitter, cross-stitcher, writer, artist, and graphic designer, crochet is her happy place. She lives and works out of Wisconsin.

SUPPLIES
-Furls Wander Worsted Weight yarn
- tan (Sandbar, Fawn, or Camel)
- kitty color: orange (Ambrosia, Thatch, Cabin, Campfire, or Marmalade)
- green (Patina, Meadow, Arbor, Cottage, or Conifer)
- Scrap yarn for face
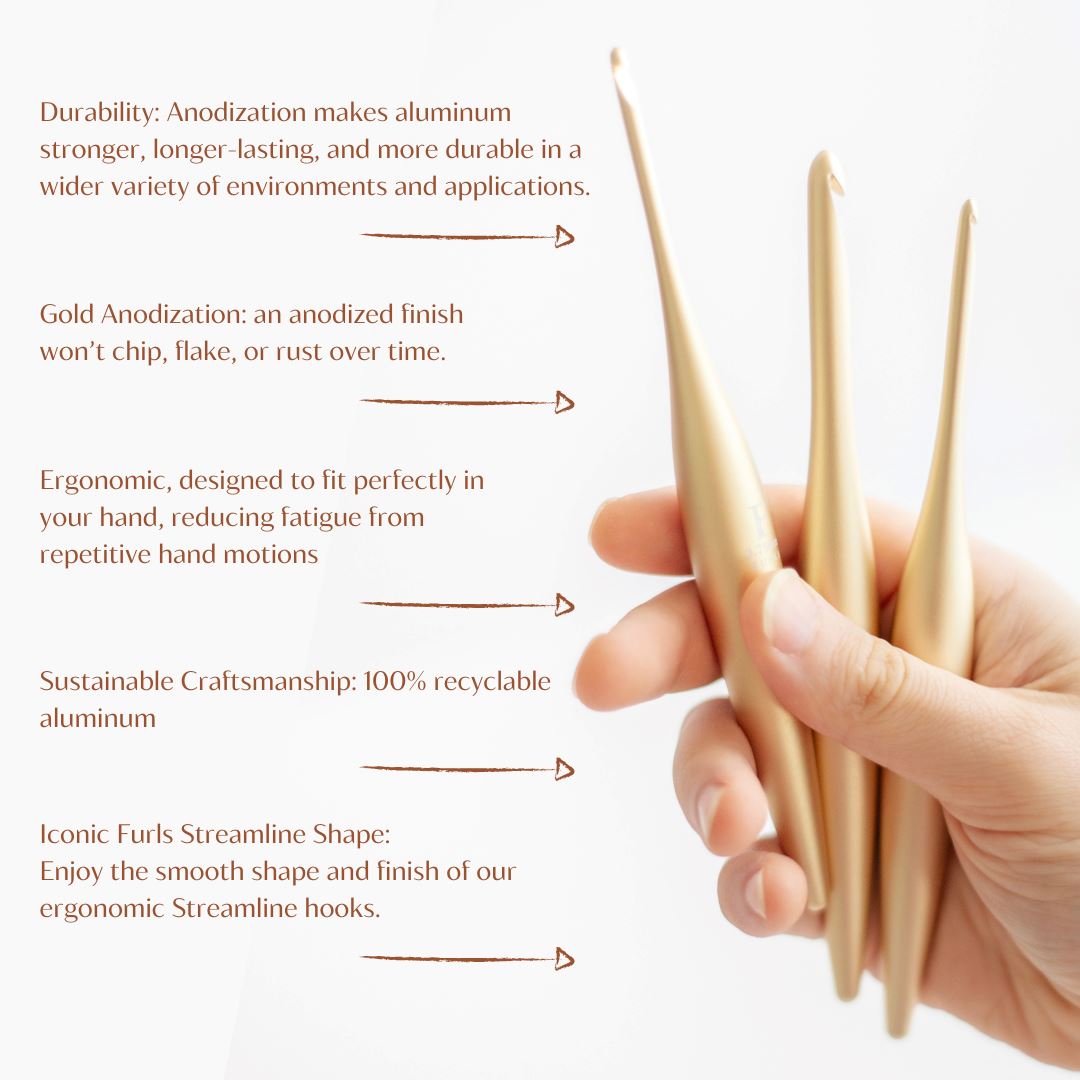
- Size 5.0mm Furls Streamline Metal crochet hook
- Yarn needle
- Locking Stitch Marker
- Stuffing
- 6mm black safety eyes
- Sewing pins for assembly
- 0.5” button

PATTERN DETAILS
Abbreviations
Ch = chain
Sc = single crochet
Sc dec = single crochet decrease
Slp st = slip stitch
Dc = double crochet
BLO = back loops only
FLO = front loops only
FO = finish off
Rep *-* = repeat instructions given between the two asterisks the indicated number of times
2x, 3x, etc = 2 times, 3 times, etc.
Dimensions
11” long (including tail), 3” wide
Pouch opening: 4.5” x 1”
Pouch capacity: ~5.5” long x ~2.5” deep
Notes
- Do not join rounds with slip stitch or ch 1 at the beginning of rounds. Use your stitch marker to mark your place.
- The burrito pouch is slightly too short to fit most ballpoints, pencils, and other writing utensils more than 5.5” long.

PART ONE
Welcome to Part 1 of the Purrito Pouch fun! This week we’ll be making the nifty burrito part of the pouch, and then next week we’ll be adding the kitty bits ‘n’ fillings to turn it into a purrito!
Burrito Pouch
With tortilla tan, ch 4
Rnd 1: 2 sc in 2nd ch from hook, sc in next ch, 3 sc in last ch, turning your work upside down so you’re working along the bottom of the chain, sc in the bottom of the middle ch, sc in same ch as 1st 2 sc (8)
Rnd 2: 2 sc in each sc around (16)
Rnd 3: *2 sc in 1st sc, sc in next sc* rep *-* around (24)
Rnd 4: *2 sc in 1st sc, sc in next 3 sc* rep *-* around (30)
Rnd 5: sc in 1st 3 sc, *2 sc in next sc, sc in next 4 sc* rep *-* 5x, 2 sc in next sc, sc in last sc (36)
Rnd 6: in BLO, *2 sc in 1st sc, sc in next 5 sc* rep *-* around (42)
Rnd 7: still in BLO, sc in 1st 5 sc, sc dec, sc in next 8 sc, sc dec, sc in next 9 sc, sc dec, sc in next 8 sc, sc dec, sc in last 4 sc (38)
Rnd 8: now in both loops, sc in each sc around (38)
Row 9: sc in 1st 10 sc, TURN
Row 10: sc in next 32 sc, TURN (32)
Rows 11-32: sc in each sc across, TURN (32)
Rnd 33: sc in each sc across, ch 6, sc in 1st sc of this row to form a round: sc in next 24 sc, PM
Rnd 34: sc in 1st 8 sc, sc across next 6 ch, sc in last 24 sc (38)
Rnd 35: sc in 1st 3 sc, 2 sc in next sc, sc in next 8 sc, 2 sc in next sc, sc in next 9 sc, 2 sc in next sc, sc in next 8 sc, 2 sc in next sc, sc in last 6 sc (42)
Rnd 36: in BLO, *sc dec, sc in next 5 sc* rep *-* around (36)
Rnd 37: still in BLO, *sc dec, sc in next 4 sc* rep *-* around (30)
Rnd 38: now in both loops, *sc dec, sc in next 3 sc* rep *-* around (24)
Rnd 39: *sc dec, sc in next sc* rep *-* around (16)
Rnd 40: sc dec around (8)
FO leaving a medium length tail. There should be a small oval opening: pinch and sew this closed to create a seam that echos the ch 4 at the beginning: weave in the ends.
Reattach the yarn with a sc anywhere around the opening of the burrito pouch, sc evenly around the opening (sc dec at the corners), then FO and weave in the ends.

Reattach the yarn with a slip st to the first exposed front loop from round 6. Evenly slip st in each exposed front loop, following the spiral until it ends at the beginning of round 8.

FO and weave in ends. Repeat this with the exposed front loops from rounds 36-37.

Burrito Flap
With tortilla tan, ch 3
Row 1: sc in 2nd ch from hook, 4 sc in last ch, turning your work so you’re working along the bottom side of the ch, sc in same sc as 1st sc, TURN (6)
Row 2: 2 sc in each sc across, TURN (12)
Row 3: sc in 1st 4 sc, 2 sc in next sc, sc in next 2 sc, 2 sc in next sc, sc in last 4 sc, TURN (14)
Row 4: sc in 1st 4 sc, *2 sc in next sc, sc in next 4 sc* rep *-* 2x, TURN (16)
Row 5: sc in 1st 5 sc, 2 sc in next sc, sc in next 4 sc, 2 sc in next sc, sc in last 5 sc, TURN (18)
Row 6: sc in 1st 6 sc, 2 sc in next sc, sc in next 4 sc, 2 sc in next sc, sc in last 6 sc, TURN (20)
Row 7: sc in 1st 3 sc, 2 sc in next sc, sc in next 6 sc, 2 sc in next sc, sc in next 5 sc, 2 sc in next sc, sc in last 3 sc (23)
Row 8: 2 sc in 1st sc, sc in next 6 sc, 2 sc in next sc, sc in next 7 sc, 2 sc in next sc, sc in next 6 sc, 2 sc in last sc, TURN (27)
Row 9: sc in 1st 5 sc, *2 sc in next sc, sc in next 7 sc*, rep *-* 2x, 2 sc in next sc, sc in last 5 sc, TURN (30)
Row 10: sc in 1st 7 sc, *2 sc in next sc, sc in next 7 sc* rep *-* 2x, 2 sc in next sc, sc in last 6 sc, TURN (33)
Row 11: sc in 1st 11 sc, 2 sc in next sc, sc in next 9 sc, 2 sc in next sc, sc in last 11 sc, TURN (35)
Row 12: *2 sc in 1st sc, sc in next 7 sc*, rep *-* 2x, ch 3, skip next 3 sc, sc in next 7 sc, rep *-* 1x, 2 sc in last sc, TURN (39)
Row 13: sc in 1st 9 sc, 2 sc in next sc, sc in next 8 sc, work 4 sc into ch space (do not work into the chain loops), sc in next 8 sc, 2 sc in next sc, sc in last 9 sc (42)
FO leaving a long tail for assembly and weave in the beginning tail only.
Sew the flat side of the burrito flap over the opening of the burrito pouch, weave in ends.

Aaaand that’s the burrito done! Join me next week where we’ll make all the kitty components and then assemble the whole enchilada… er, purrito!
PART TWO
Welcome back to the Purrito party! This week we’ll be making all the pieces that put the “purr” in purrito, and then we’ll sew it all together and serve it up!
Kitty head
With kitty color, ch 4
Rnd 1: 2 sc in 2nd ch from hook, sc in next ch, 3 sc in last ch, turning your work upside down so you’re working along the bottom of the chain, sc in the bottom of the middle ch, sc in same ch as 1st 2 sc (8)
Rnd 2: *3 sc in 1st sc, sc in next sc* rep *-* 4x (16)
Rnd 3: sc in 1st sc, *3 sc in next sc, sc in next 3 sc* rep *-* 3x, 3 sc in next sc, sc in last 2 sc (24)
Rnd 4: sc in 1st 2 sc, *3 sc in next sc, sc in next 5 sc* rep *-* 3x, 3 sc in next sc, sc in last 3 sc (32)
Rnds 5-7: sc in each sc around (32)
Rnd 8: sc in 1st 5 sc.
FO leaving remaining stitches unworked. Where the FO tail is marks the left side of the cat’s little diamond face.
Insert the eyes using the photo below for reference and secure with the washers.

Using scrap yarn, embroider a triangle nose and a little cat smile using the picture above for reference.
Ears - make 2
With kitty color, ch 7
Row 1: sc in 2nd ch from hook and in each ch across, TURN (6)
Row 2: sc dec, sc in next 2 sc, sc dec, TURN (4)
Row 3: sc in each sc across (4)
Row 4: sc dec 2x (2)
Row 5: sc dec
FO and weave in this end only.
Using the beginning tails, sew the chain edge of each ear to the cat’s head, using the photo for reference.
Kitty Paws - make 4
With kitty color, ch 3
Rnd 1: 2 sc in 2nd ch from hook, 3 sc in last ch, turning your work upside down so you’re working along the bottom of the chain, sc in same ch as 1st 2 sc (6)
Rnd 2: 2 sc in each sc around (12)
Rnd 3: sc in each sc around (12)
Rnd 4: *sc dec, sc in next 2 sc* rep *-* 3x (9)
FO leaving a medium length tail for assembly.
Sew two paws to the bottom of the kitty face: weave in ends.
Sew the kitty head to one side of the burrito pouch, just inside the inner spiral of the tortilla “wrap” effect. The top of the head should be centered with the pouch opening. Before sewing the face all the way on, add a little bit of stuffing. Weave in the ends.

Little Piece of Lettuce
With lettuce green, ch 3
Rnd 1: 2 dc in 2nd ch from hook, sc in same ch, slp st in same ch; sc, 3 dc, sc, slp st all in last ch; turning your work so you’re working along the bottom side of the chain, sc, 2 dc, hdc all in next ch sp (the original 2nd ch from hook)
FO and sew the little piece of lettuce to the top of the kitty’s head, between the ears. Try to hide the seam under the “wrap” edge of the burrito.
Kitty Back End
With kitty color, ch 2 or magic ring
Rnd 1: 8 sc in 2nd ch from hook / ring (8)
Rnd 2: 2 sc in each sc around (16)
Rnd 3: *sc dec, sc in next 6 sc* rep *-* around (14)
Rnd 4: sc in each sc around (14)
Rnd 5: sc in 1st 2 sc, sc dec, sc in next 5 sc, sc dec, sc in last 3 sc (12)
Rnd 6: sc in each sc around (12)
Rnd 7: *sc dec, sc in next 4 sc* rep *-* around (10)
Rnd 8: sc in each sc around (10)
Rnd 9: sc in 1st 2 sc, sc dec, sc in next 3 sc, sc dec, sc in last sc (8)
Rnds 10-18: sc in each sc around (8)
Rnd 19: in FLO, 2 sc in each sc around (16)
Rnd 20: sc in 1st sc, *2 sc in next sc, sc in next sc* rep *-* 7x, 2 sc in last sc (24)
Rnd 21: sc in 1st 4 sc, *2 sc in next sc, sc in next 4 sc* rep *-* 4x (29)
Rnd 22: sc in each sc around (29)
Rnd 23: sc in 1st 14 sc, SWITCH TO GREEN and working in FLO, work a random series of dc and sc clusters separated by some slp sts. For example: “3 dc in next sc, slp st in next 2 sc, 3 sc in next sc, slp st in next sc, 3 dc in next sc, slp st in next 2 sc”, etc. This will give us a wavy lettuce edge. Once lettuce is worked all the way around, FO leaving a long tail for assembly.
Sew the two remaining kitty paws onto the kitty back end as pictured. The paws should be spaced apart the same as the paws on the face.


Using the FO end, sew the kitty back end to the naked end of the burrito, just inside the inner spiral of the tortilla “wrap” effect. Make sure the back end lines up with the face side so it doesn’t look like the cat is twisted inside the burrito. All four kitty paws should be lined up when viewed from the bottom. Before sewing the back end all the way on, add a little bit of stuffing. Weave in the ends.
FINISHING TOUCHES
Close the burrito flap over the pouch opening. With a pin or two, mark where the buttonhole naturally falls on the main burrito. Securely sew the button here.

Your purrito pouch is done! Time to fill it up with goodies! Thanks for crocheting along with this month’s amigurumi, I hope you had a meow-velous time making this goofy little pouch with me.