Spring is in the air, the birds are chirping and the sun is shining! Celebrate the season by getting out your Furls Hook and crocheting your very own little birdhouse and sweet little birdie set! This CAL will be in two installments and includes the pattern for the birdhouse, plus the sweet little bird, grass mat and trees!

ABOUT OUR DESIGNER
Jackie Laing is the designer behind A[mi]dorable Crochet. Jackie lives in northern B.C. Canada with her daughter and furry family members. She has been playing with yarn and her favourite hooks since 2009. Jackie enjoys making amigurumi and draws inspiration from her favourite music, movies and tv shows! Jackie has designed some amazing creations for our Furls Family. You can find all of them HERE.

SUPPLIES
- Bernat Super Value Yarn in (less than one skein of each color)
- 4mm safety eyes
- Black thread for the eyebrows and mouth
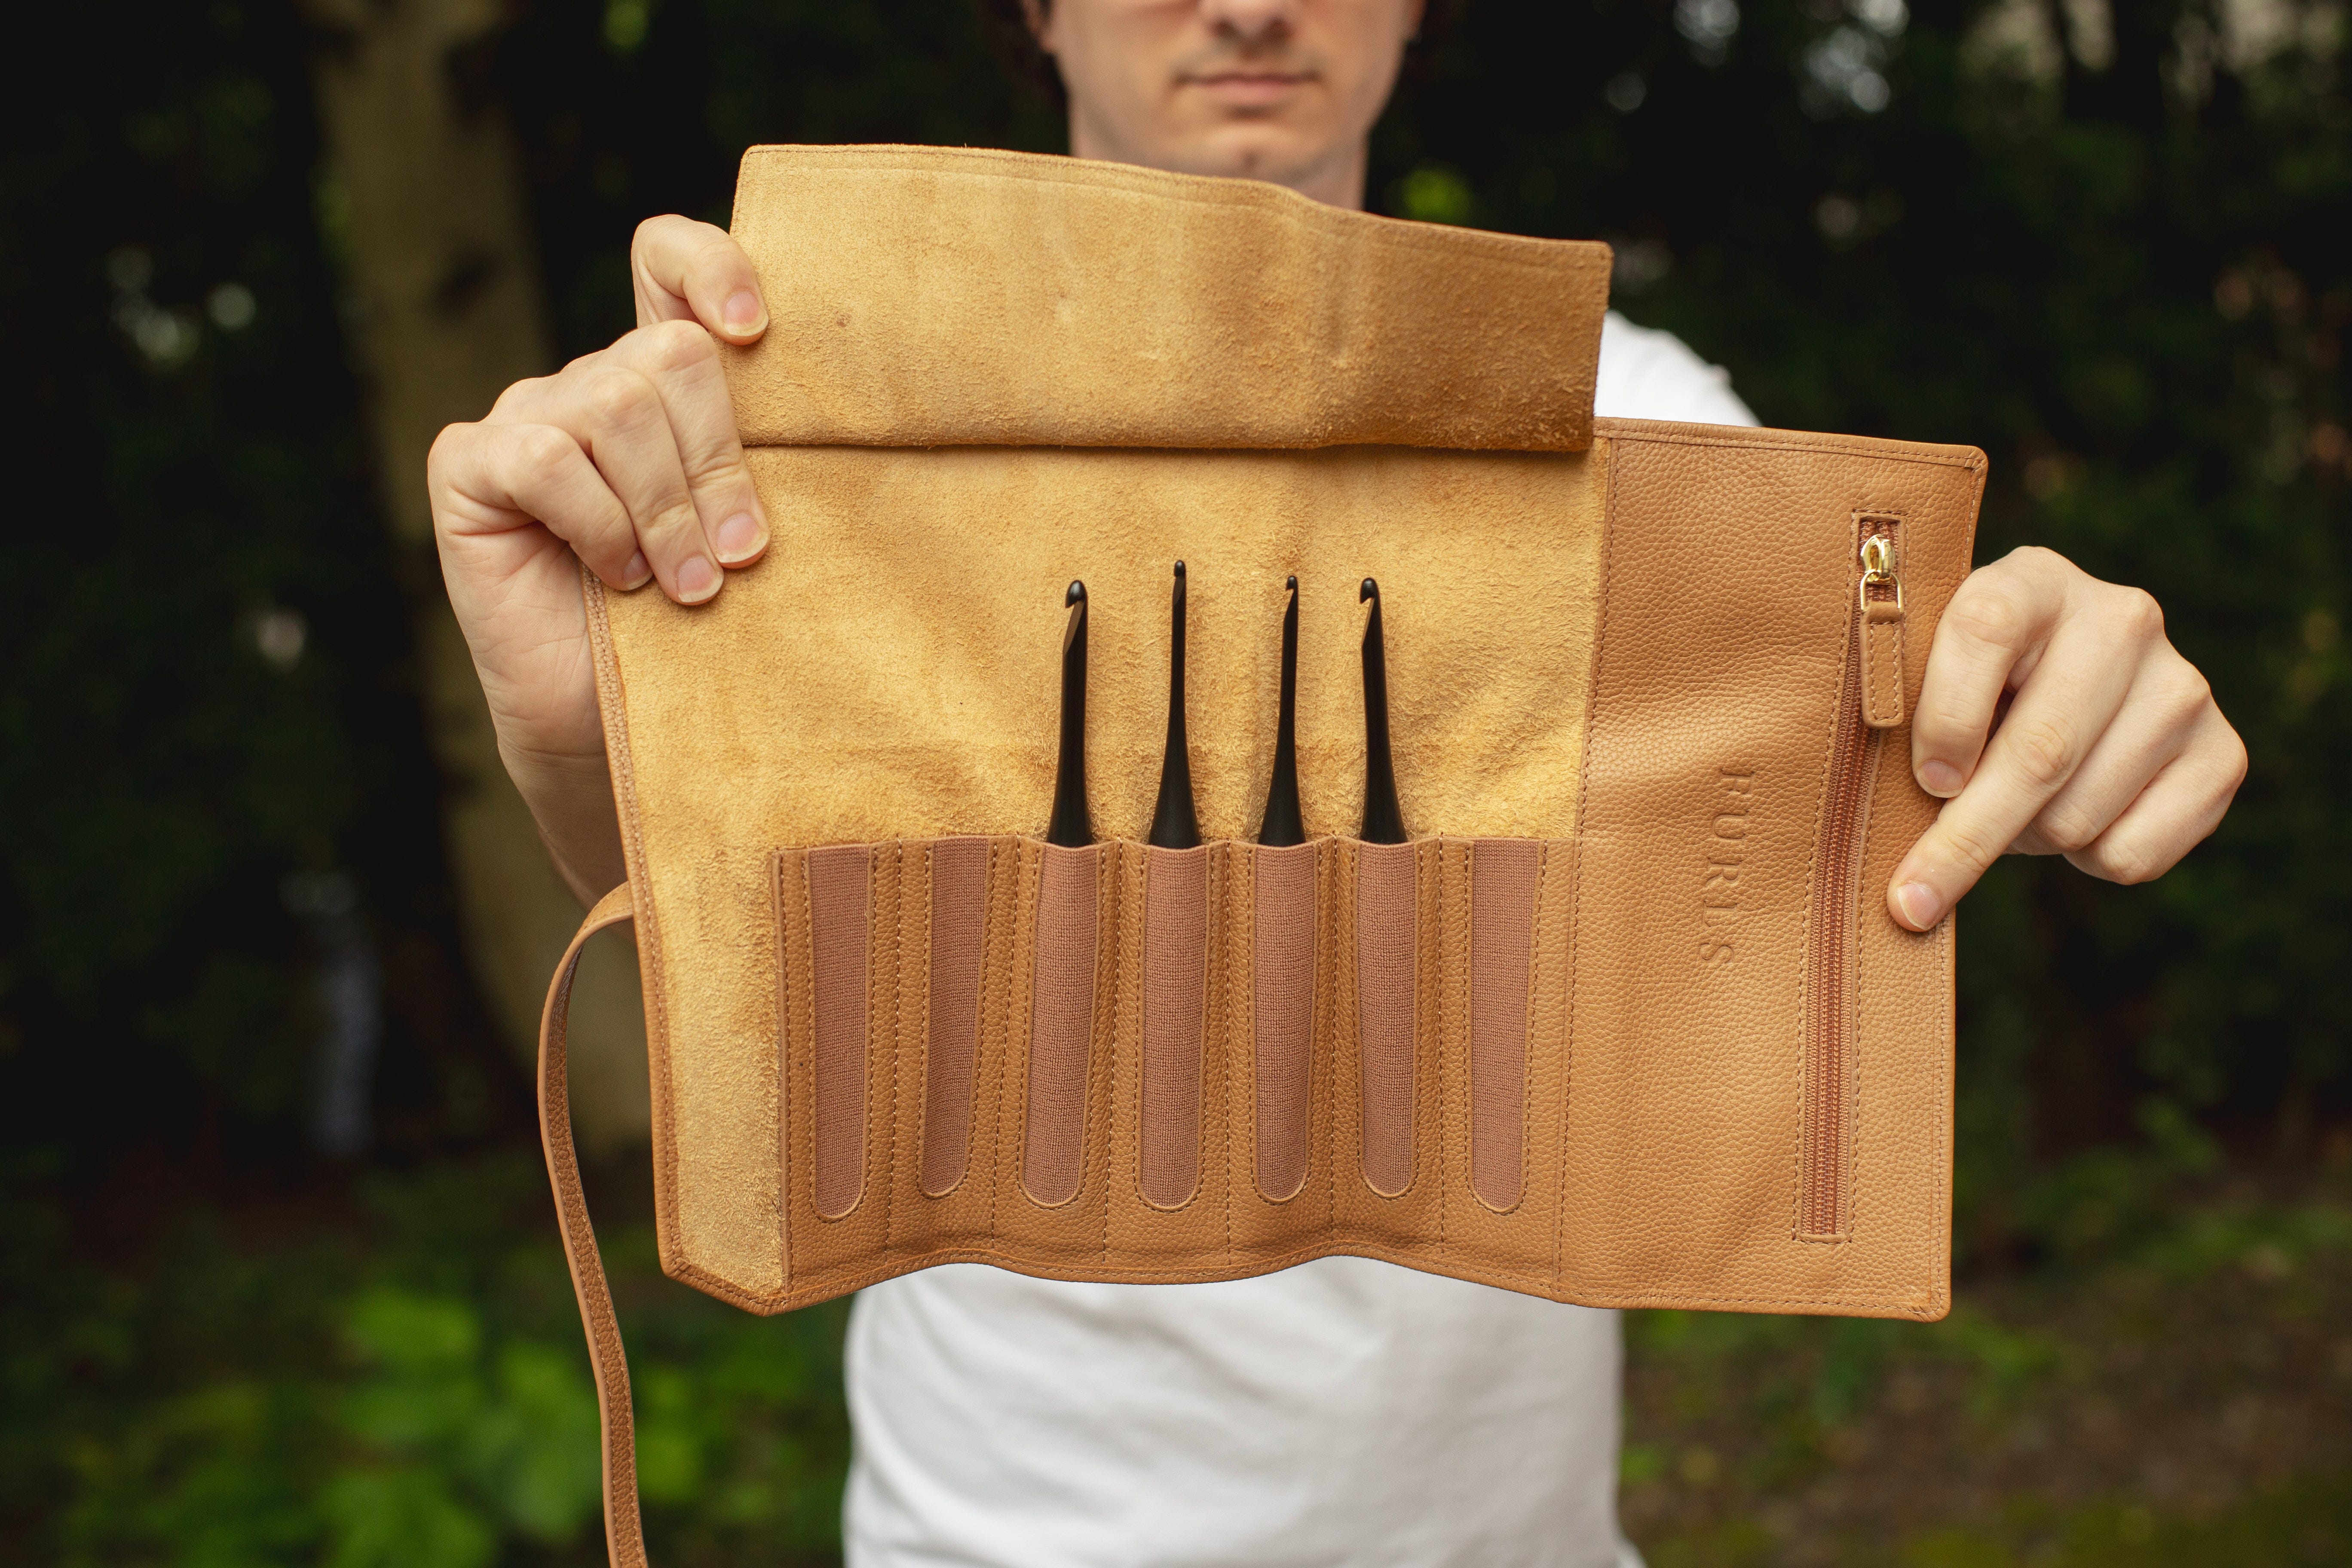
- Furls Crochet Hook size G/4mm, also E/3.5mm
- Stuffing, scissors and a sewing needle
PATTERN DETAILS
Abbreviations
Ch-chain
Sc-single crochet
Inc- increase
Dec-decrease
Fo-fasten off
**SPECIAL NOTE**
Most of the pattern for the birdhouse is worked using two strands of yarn at the same time! This makes the house much firmer. I pulled yarn from the center of the skein and the outside of the skein, so I had my two strands both coming from the same skein as I worked, instead of using two skeins of each color!
PART ONE
G/4.0 mm hook used for all of Part One
The Birdhouse
Row1: Starting at the base of the birdhouse working with two strands of yarn in the color of your choosing for the birdhouse using a Furls G/4mm hook ch x 12 (12)
Row2: Turn, sc x 11 (11)
Row3-9: Turn, ch, sc x 11 (11)
Rnd10: Do not turn, sc around the entire piece x 40 (40)
Rnd11: You will now be starting the walls of your birdhouse, do this entire round in the back loops, [sc x 4, dec, sc x 4] x 4 (36)
Rnd12-21: Sc x 36 (36)
Row22: You will be starting the first arch or you can call it the peak of your birdhouse, sc x 20 (20)
Row23: Turn, ch, sc x 11 (11)
Row24: Turn, ch, dec, sc x 7, dec (9)
Row25: Turn, ch, sc x 9 (9)
Row26: Turn, ch, dec, sc x 5, dec (7)
Row27: Turn, ch, dec, sc x 3, dec (5)
Row28: Turn, ch, dec, sc, dec (3)
Row29: Turn, ch, sc x 3 (3)
Row30: Turn, ch, dec, sc (2)
Row31: Turn, ch, dec, fasten off (1)
Second Peak or Arch
Row1: The second arch is worked the same as the first arch. Count over seven stitches from your first arch and you will begin working from that stitch sc x 11 across (11)
Row2-10: same as the first arch Row23-31.
Roof
Row1: Working with two strands of yarn in the color of your choosing and using a Furls G/4mm hook for the roof ch x 13 (13)
Row2: Turn, sc x 12 (12)
Row3-25: Turn, ch, sc x 12 (12)
Rnd26: Do not turn, sc around the entire piece, now fasten off

Trim on Roof
Row1: Working with two strands of yarn in the color of your choosing for the trim and using a Furls G/4mm hook , work this entire round in the back loops of Rnd26 of the roof, insert your hook into any stitch *[slip stitch, ch x 3, sc] do the pattern in the brackets all in the same stitch, skip the next stitch, repeat from the * all the way across, fasten off.
Chimney
Row1: Working with two strands of yarn in the color of your choosing for the chimney and using a Furls G/4mm hook ch x 12 (12)
Row2: Turn, sc x 11 (11)
Row3-4: Turn, ch, sc x 11, fasten off at the end of Row4 (11)

Grass Mat
Row1: Working with two strands of green yarn ch x 21 (21)
Row2: Turn, sc x 20 (20)
Row3-13: Turn, ch, sc x 20 (20)
Rnd14: Do not turn, sc around the entire piece, now fasten off
Base Trim on Birdhouse
Rnd1: Insert your hook into any post at the bottom of your birdhouse, now sc around the entire house around the posts, fasten off.

PART TWO
Special Note: From this point going forward you will be using the Furls E/3.5mm hook
Small Tree
Rnd1: Starting at the top of your tree with green yarn and using a Furls E/3.5mm hook sc x 6 in a magic ring, or ch x 2 and do 6sc in the second ch from your hook (6)
Rnd2: Inc x 6 (12)
Rnd3: [Sc, inc] x 6 (18)
Rnd4-7: Sc x 18 (18)
Rnd8: [Sc, dec] x 6 (12)
Rnd9: Sc x 12 (12)
Rnd10: Stuff your tree firmly from this point on, dec x 6 (6)
Rnd11: Change to brown and [sc x 2, inc] x 2 (8)
Rnd12-16: Sc x 8 (8)
Rnd17: [Sc x 3, inc] x 2, fasten off (10)

Door
Row1: With the color of your choosing for your door and using a Furls E/3.5mm hook ch x 7 (7)
Row2: Turn, sc x 6 (6)
Row3-8: Turn, ch, sc x 6 (6)
Rnd9: Do not turn, sc around the entire piece, fasten off.
Birdhouse Hole
Rnd1: With the color of your choosing for the little hole sc x 6 in a magic ring, or ch x 2 and do 6sc in the second ch from your hook (6)
Rnd2: Inc x 6 (12)
Rnd3: [Sc, inc] x 6, now fasten off (18)

Birdie
Rnd1: With the color of your choosing for your little birdie sc x 6 in a magic ring, or ch x 2 and do 6sc in the second ch from your hook (6)
Rnd2: Inc x 6 (12)
Rnd3: [Inc, sc x 5] x 2 (14)
Rnd4: Sc x 14 (14)
Rnd5: Sc x 3, inc, sc, place the first safety eye in the last stitch you just did, sc, inc, place your second safety eye in the last stitch, [sc x 2, inc] x 2, sc (18)
Rnd6-8: Sc x 18 (18)
Rnd9: [Sc x 5, inc] x 3 (21)
Rnd10-12: SC x 21 (21)
Rnd13: Sc, dec x 10 (11)
Rnd14: Stuff your bird firmly from this point on, sc, dec x 5 (6)
Rnd15: Dec x 3, fasten off (3)
Wing (make two)
Row1: With the same color you used to make the body of your birdie ch x 4 (4)
Row2: Turn, sc x 3 (3)
Row3: Turn, ch, sc x 3 (3)
Row4: Turn , ch, dec, sc (2)
Rnd5: Do not turn or ch, sc round the entire piece. Fasten off
Bird Perch/Log
Rnd1: With brown yarn and using a Furls E/3.5mm hook sc x 6 in a magic ring, or ch x 2 and do 6sc in the second ch from your hook (6)
Rnd2: [Inc, sc x 2] x 2 (8)
Rnd3: Sc x 8 (8)
Rnd4: Dec, sc x 6 (7)
Rnd5-8: Sc x 7, fasten off at the end of Rnd8 (7)
Big Tree
Rnd1-10: Work the same as the small tree.
Rnd11: Inc x 6 (12)
Rnd12: [Sc, inc] x 6 (18)
Rnd13-14: Sc x 18 (18)
Rnd15: Dec x 9 (9)
Rnd16: Switch to brown yarn and dec, sc x 7 (8)
Rnd17-21: Sc x 8 (8)
Rnd22: [Sc x 3, inc] x 2, fasten off (10)
Flower
Row1: With the color of your choosing for your flower and using a Furls E/3.5mm hook chx 15 (15)
Row2: *hdc x 3 in next stitch, sc, repeat from the * all the way across, fasten off

Assembly
To assemble the birdhouse I used dressmaking pins to hold the roof in place, then sew it onto the house. Before you sew it completely closed make sure you stuff your house firmly. Sew on the perch, or windows and doors. Sew the home onto the grass mat if you are making a playhouse instead of a birdhouse. Sew the trees onto the grass mat. Sew the wings onto your little birdie, plus eyebrows and use orange yarn to sew on a little beak. Sew on the little flower, now weave in all ends and trim them.


